Creating a Document
Use the steps below to create an Esign Document for your selected Application.
1. Document Menu
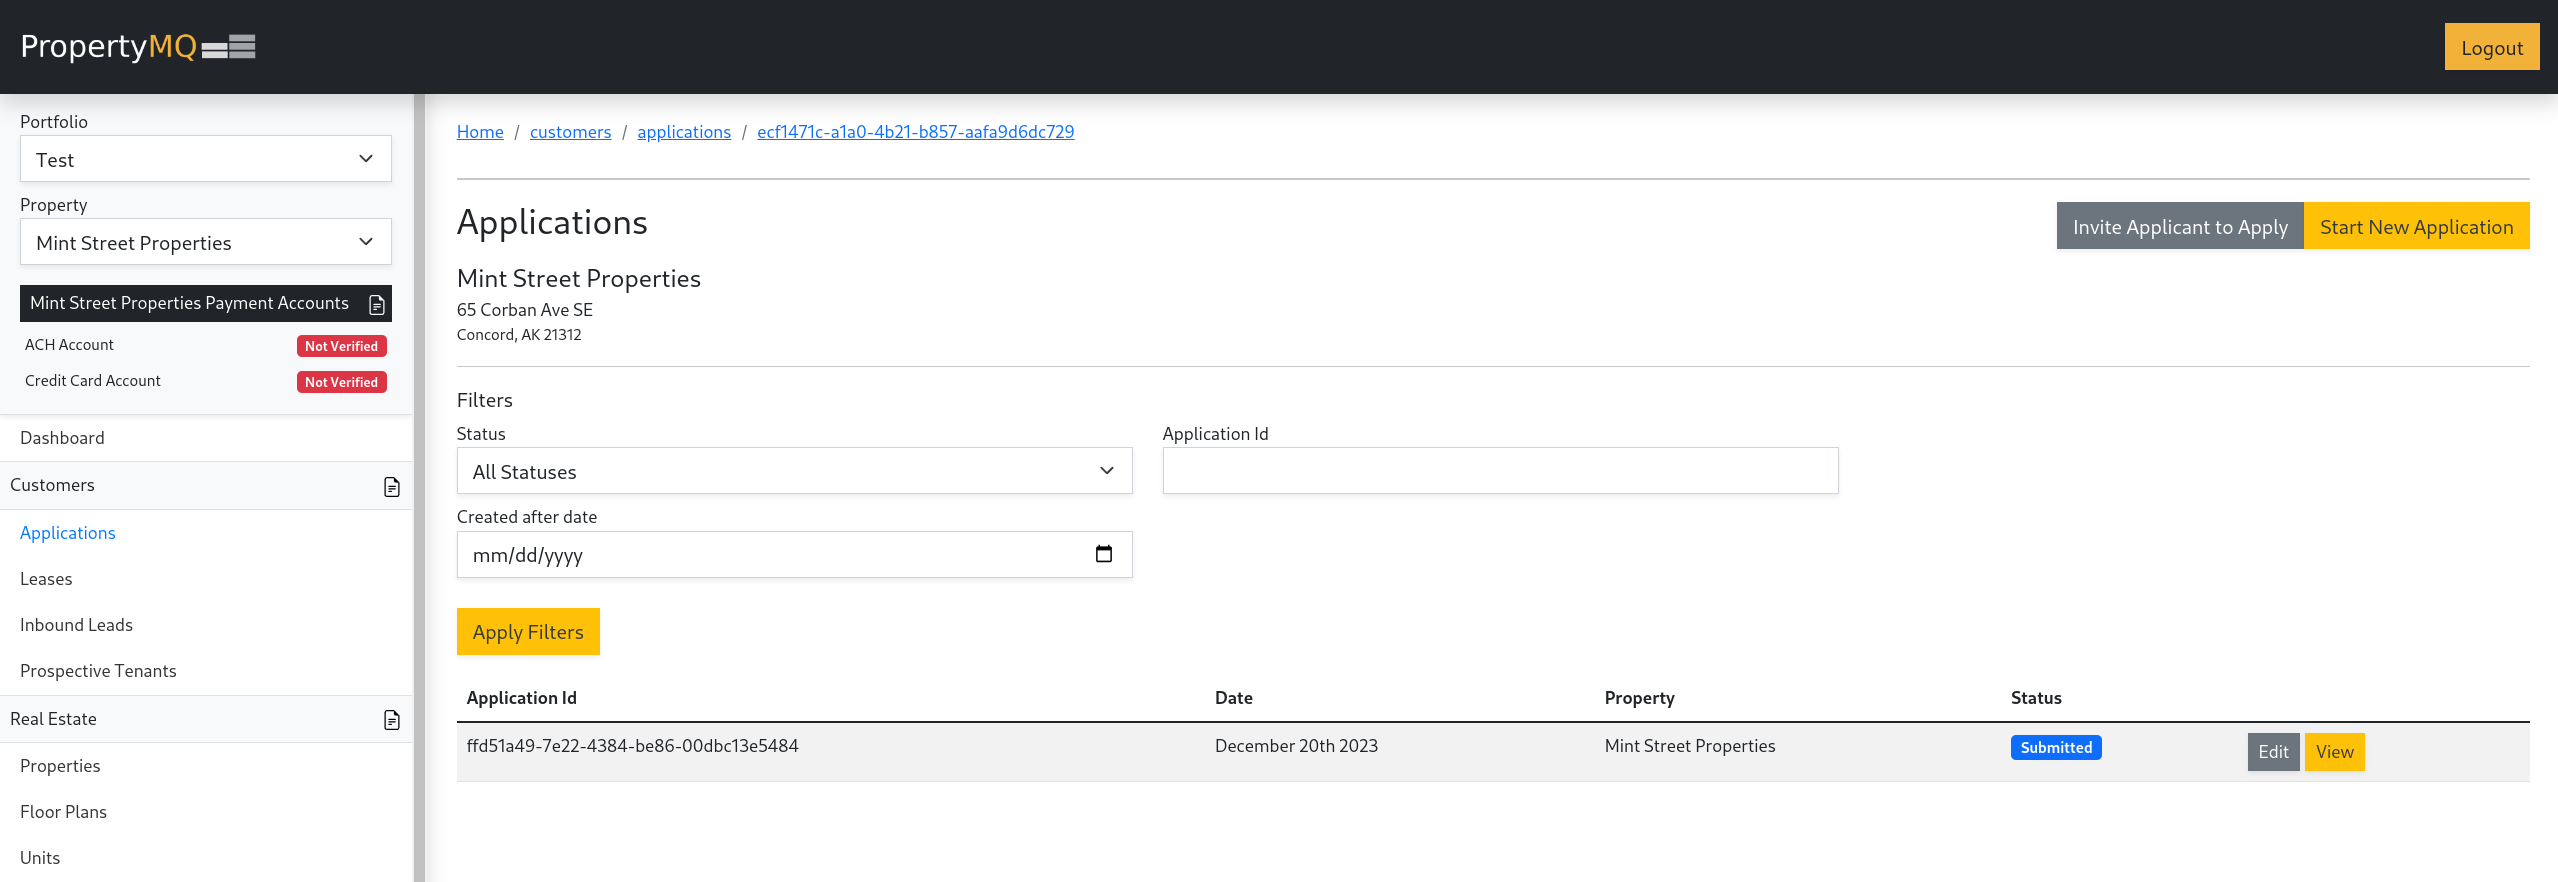
In the left navigation panel under Customers select Applications to see a list of applications on your selected property.
Click the View button shown below on the Application you want to add a document to.
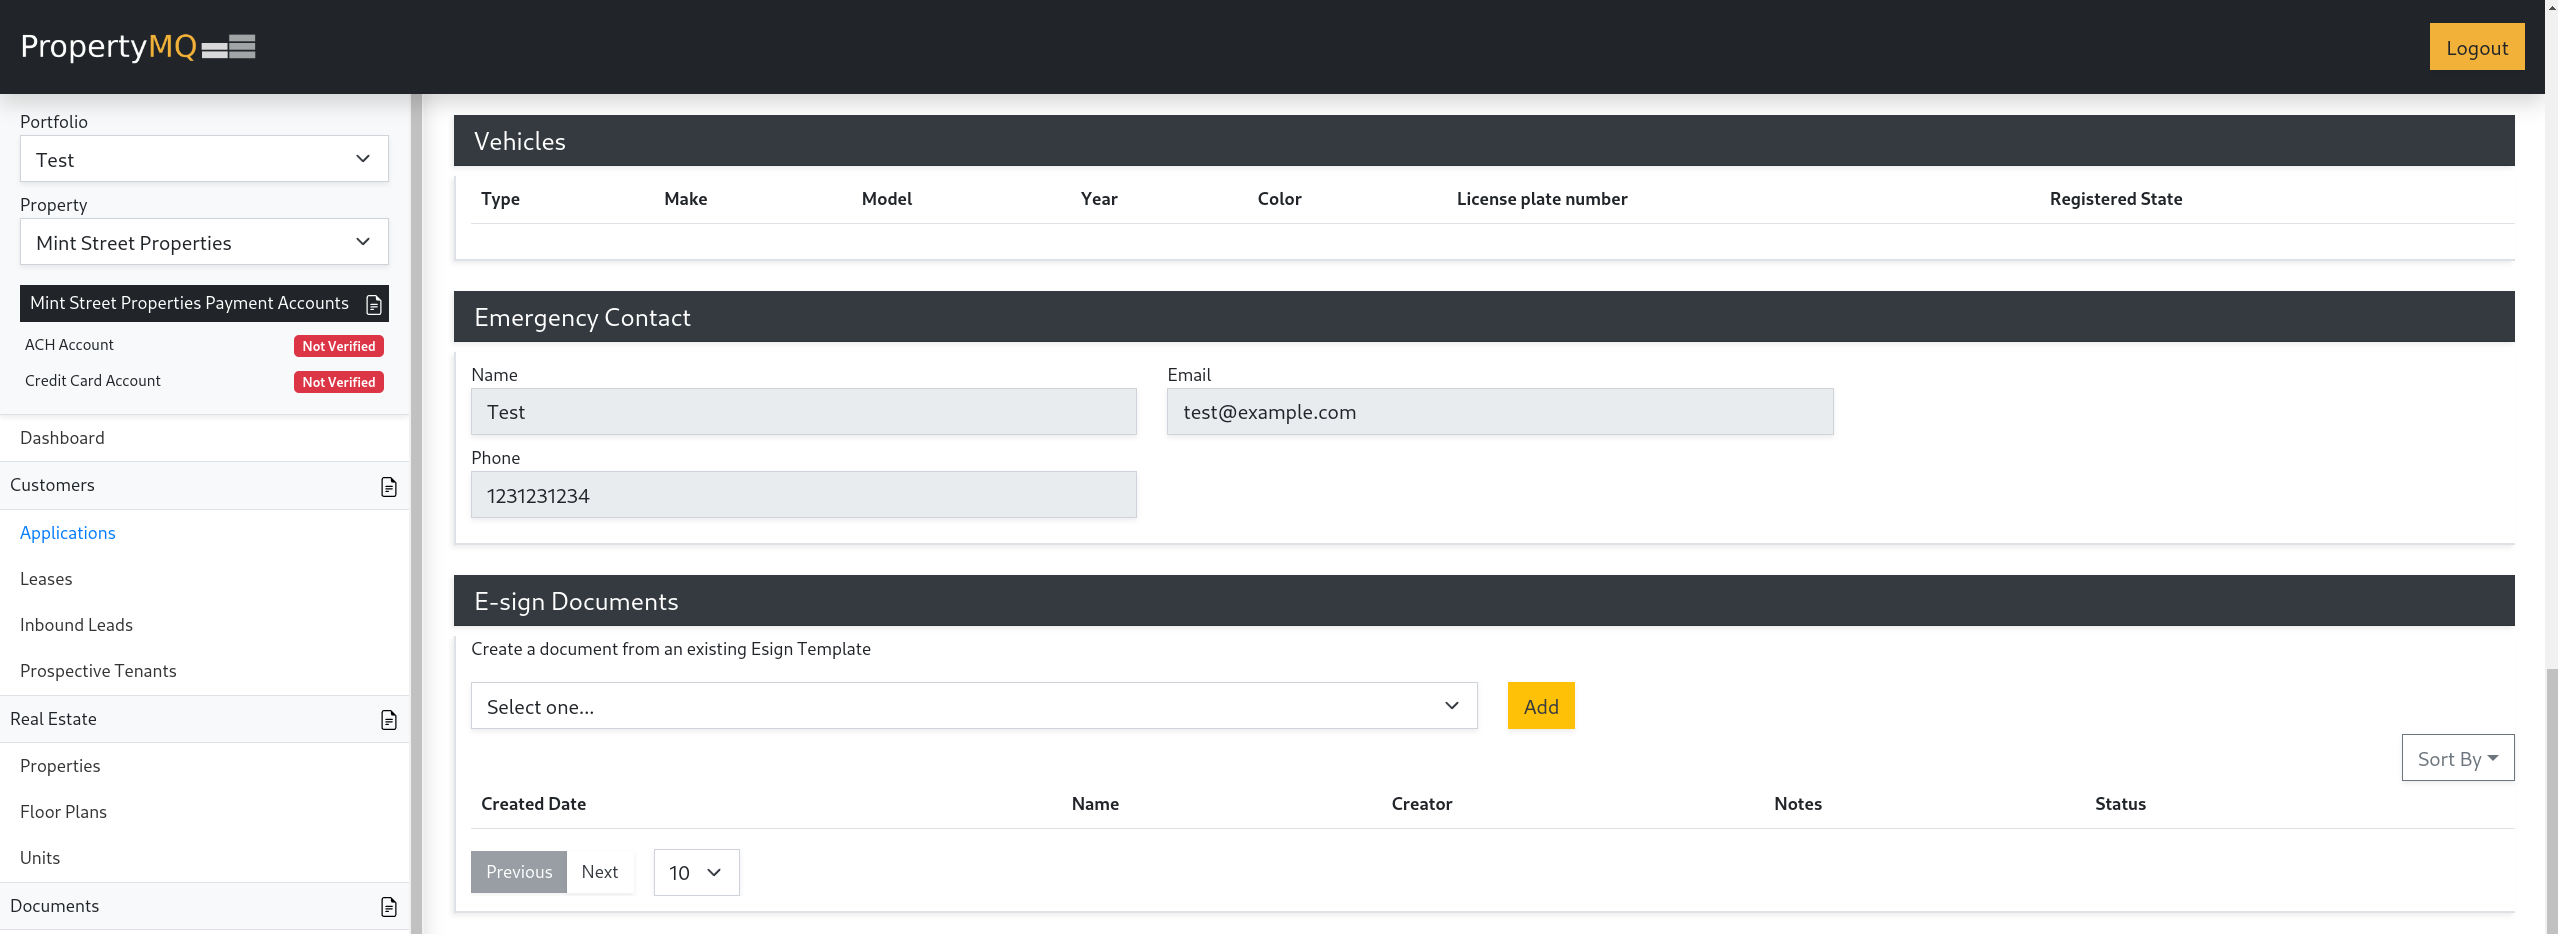
Once you have selected an Application and are in the View window, scroll down to find the E-sign Documents section shown below.
2. Create Document
In the E-sign Documents section, there will be a dropdown menu that includes all the Published templates associated with the selected Property similar to the image below.
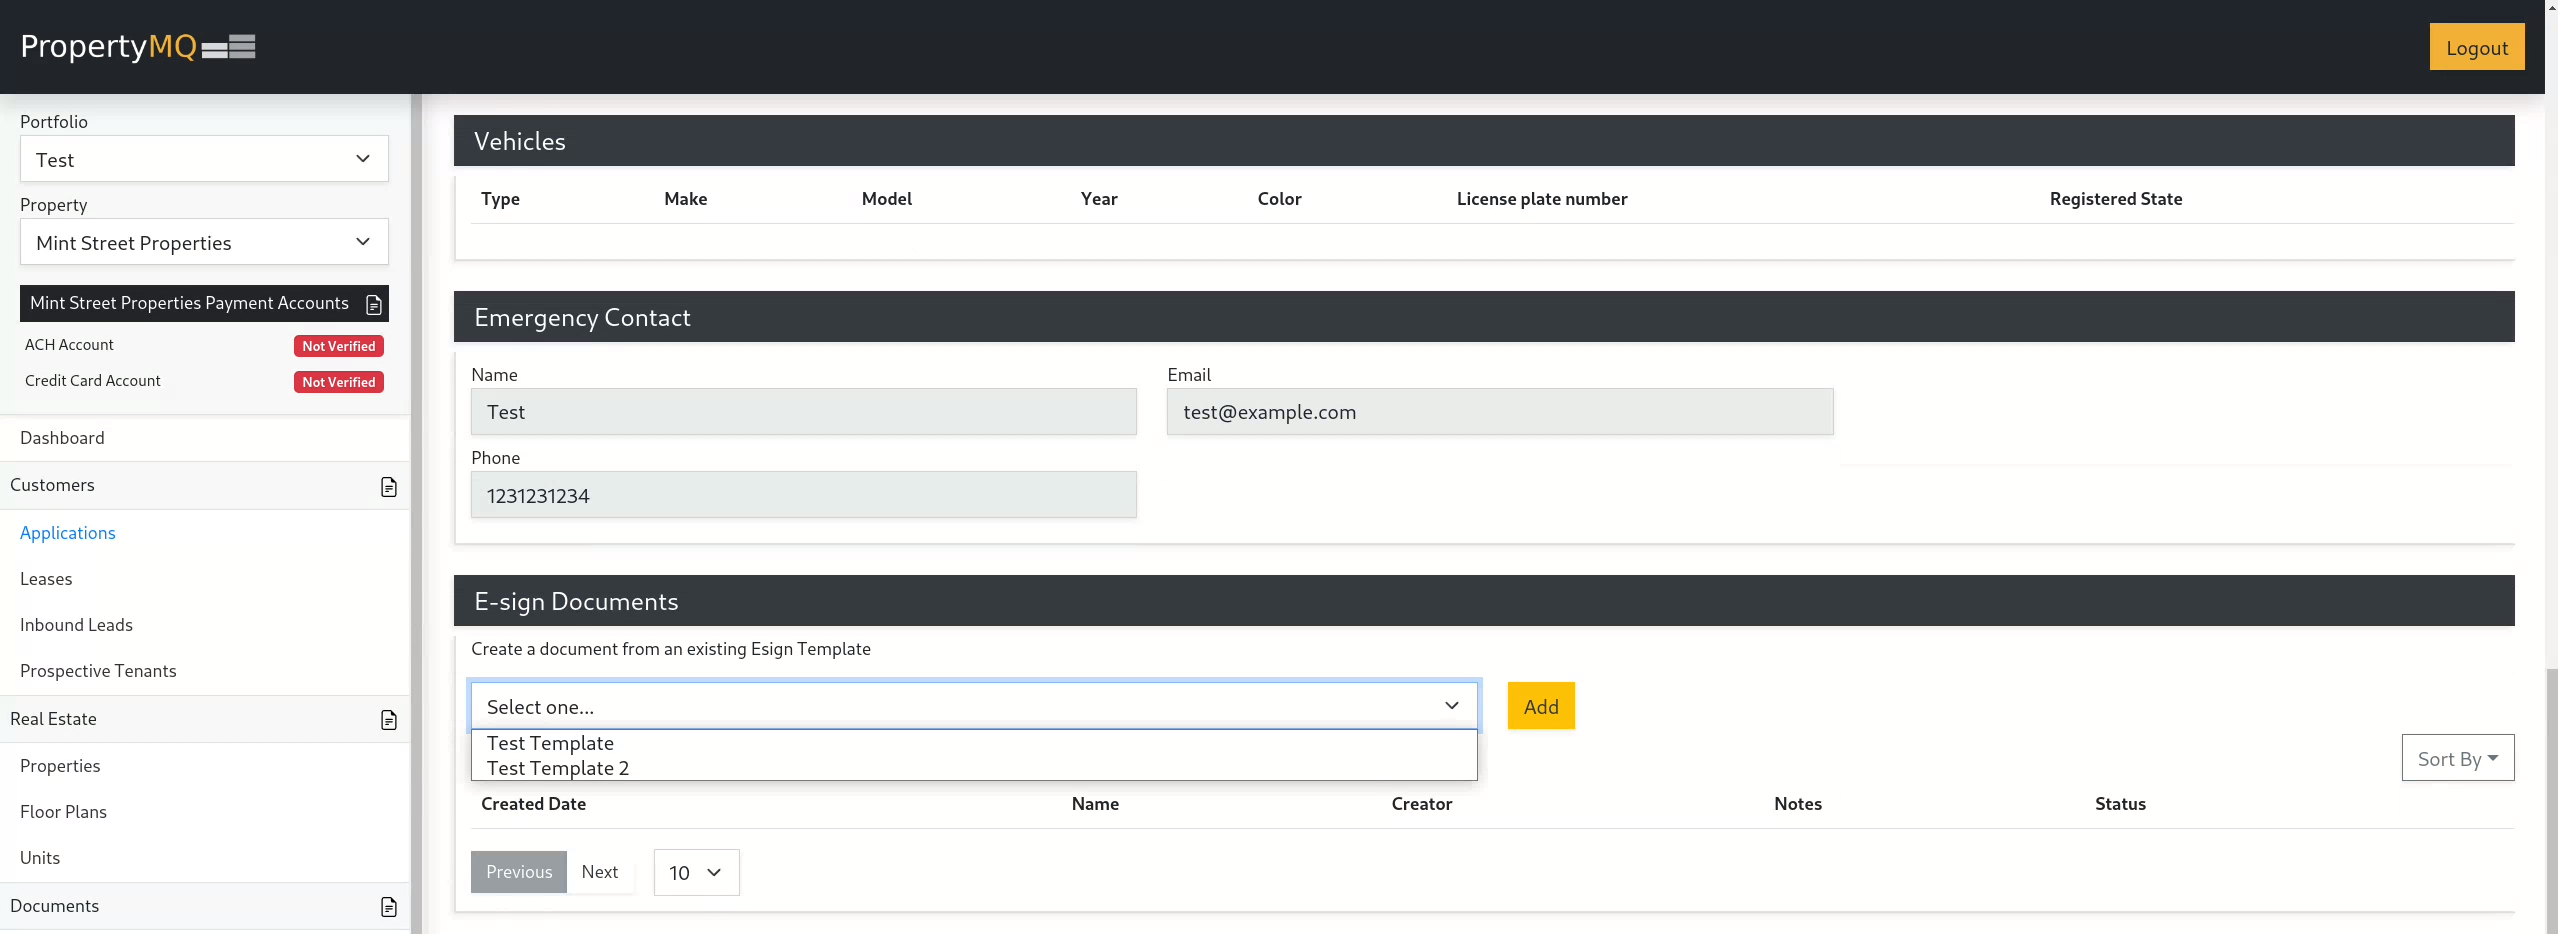
From this point you want to select the desired template from the list and then click the Add button shown above.
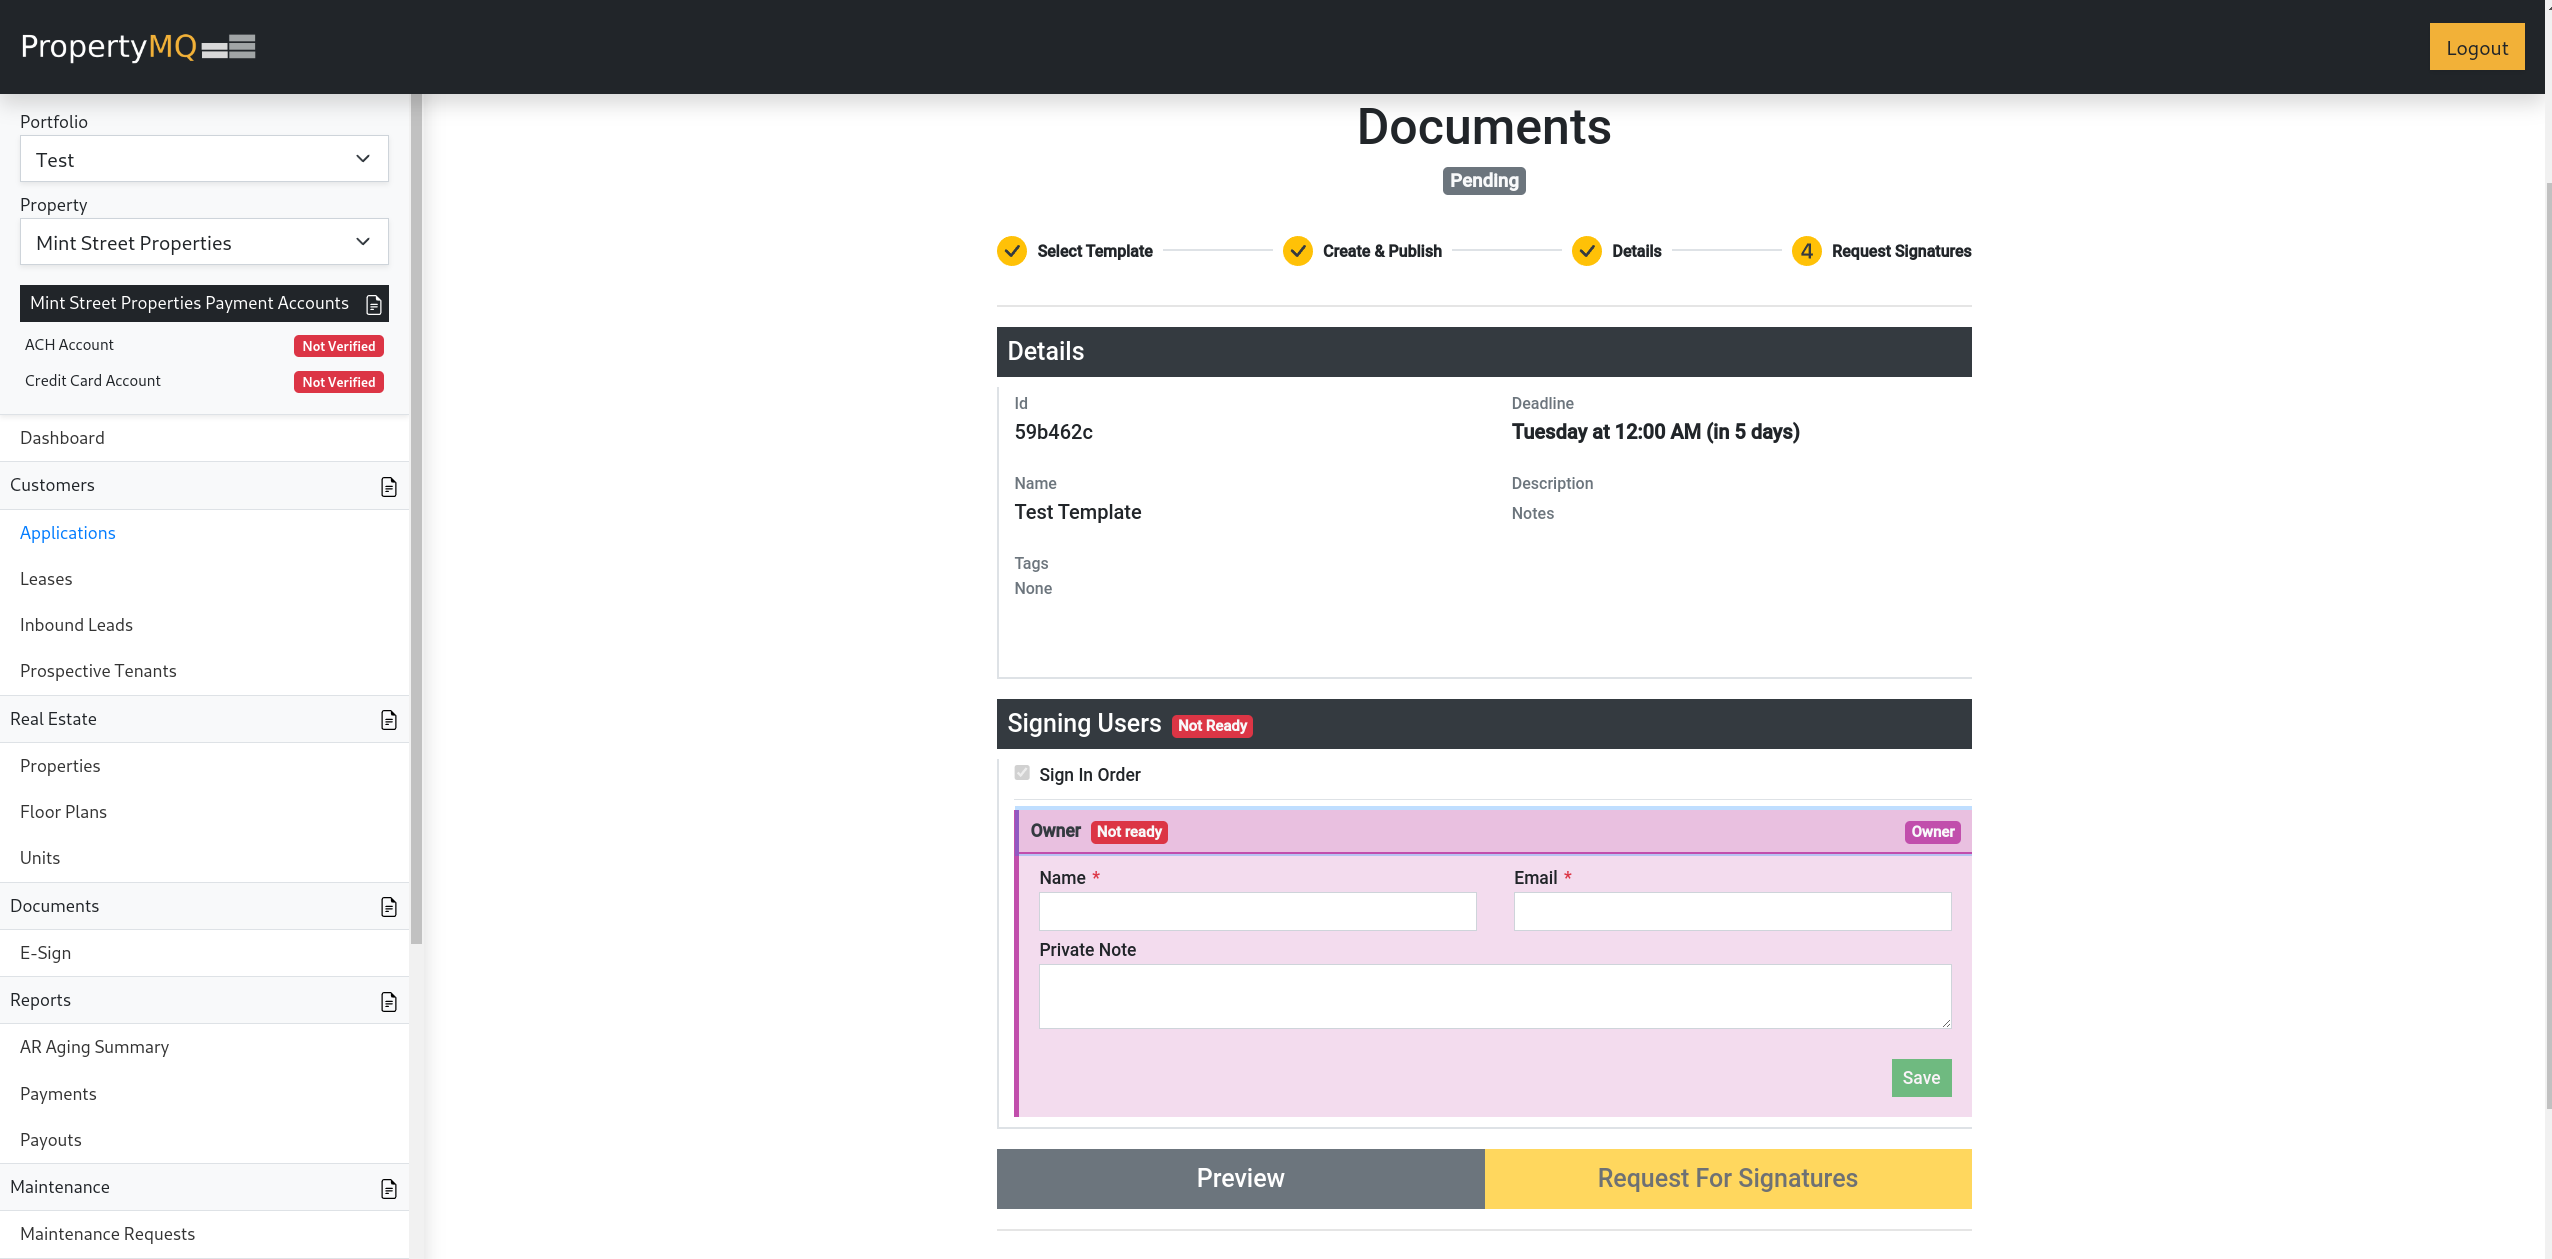
3. Configure Document
A new page will appear where you will be able to configure the document.
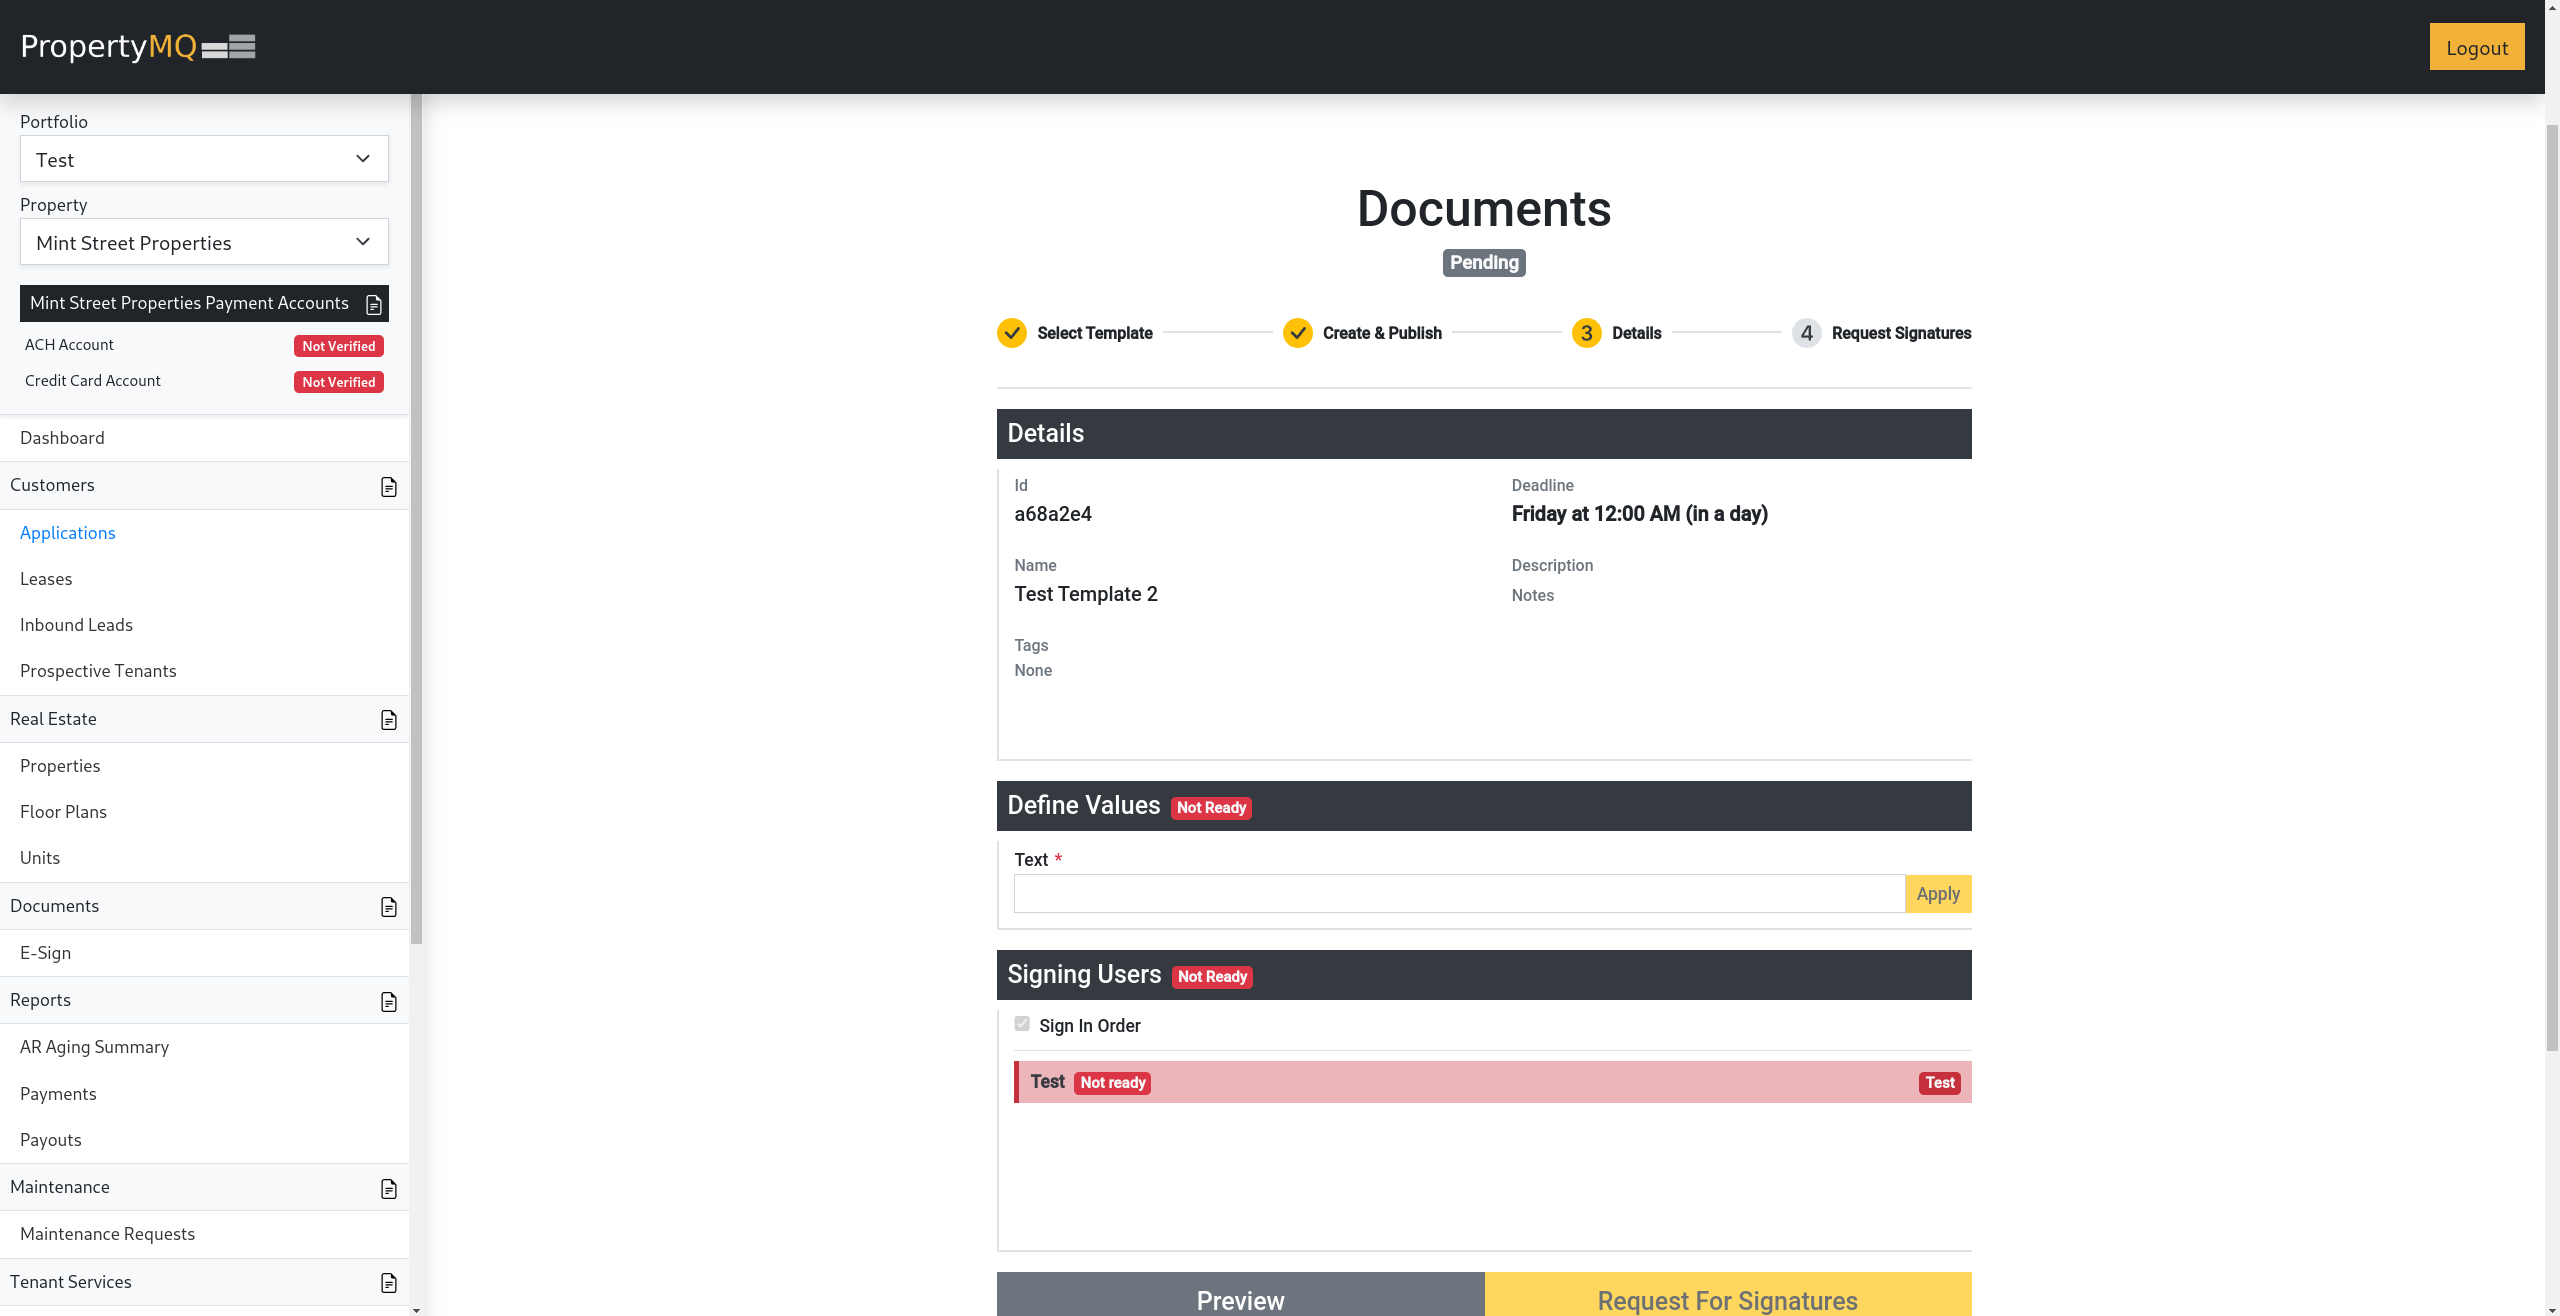
Define values
If applicable, a Define Values section will appear, as shown above. In this section you can set the value marked with the Define before Signatures checkmark mentioned in the Creating a Template section.
Signing Users
In this section, each signing user can be configured, as shown below, with the following attributes:
| Name | Description |
|---|---|
| Name | This will be the full name of the specific signing user. |
| This will be the email of the specific signing user that the signature request will be sent to. | |
| Private Note (Optional) | This is a private note that will be included in the signature request email to that specific signing user. |
4. Preview / Request For Signatures
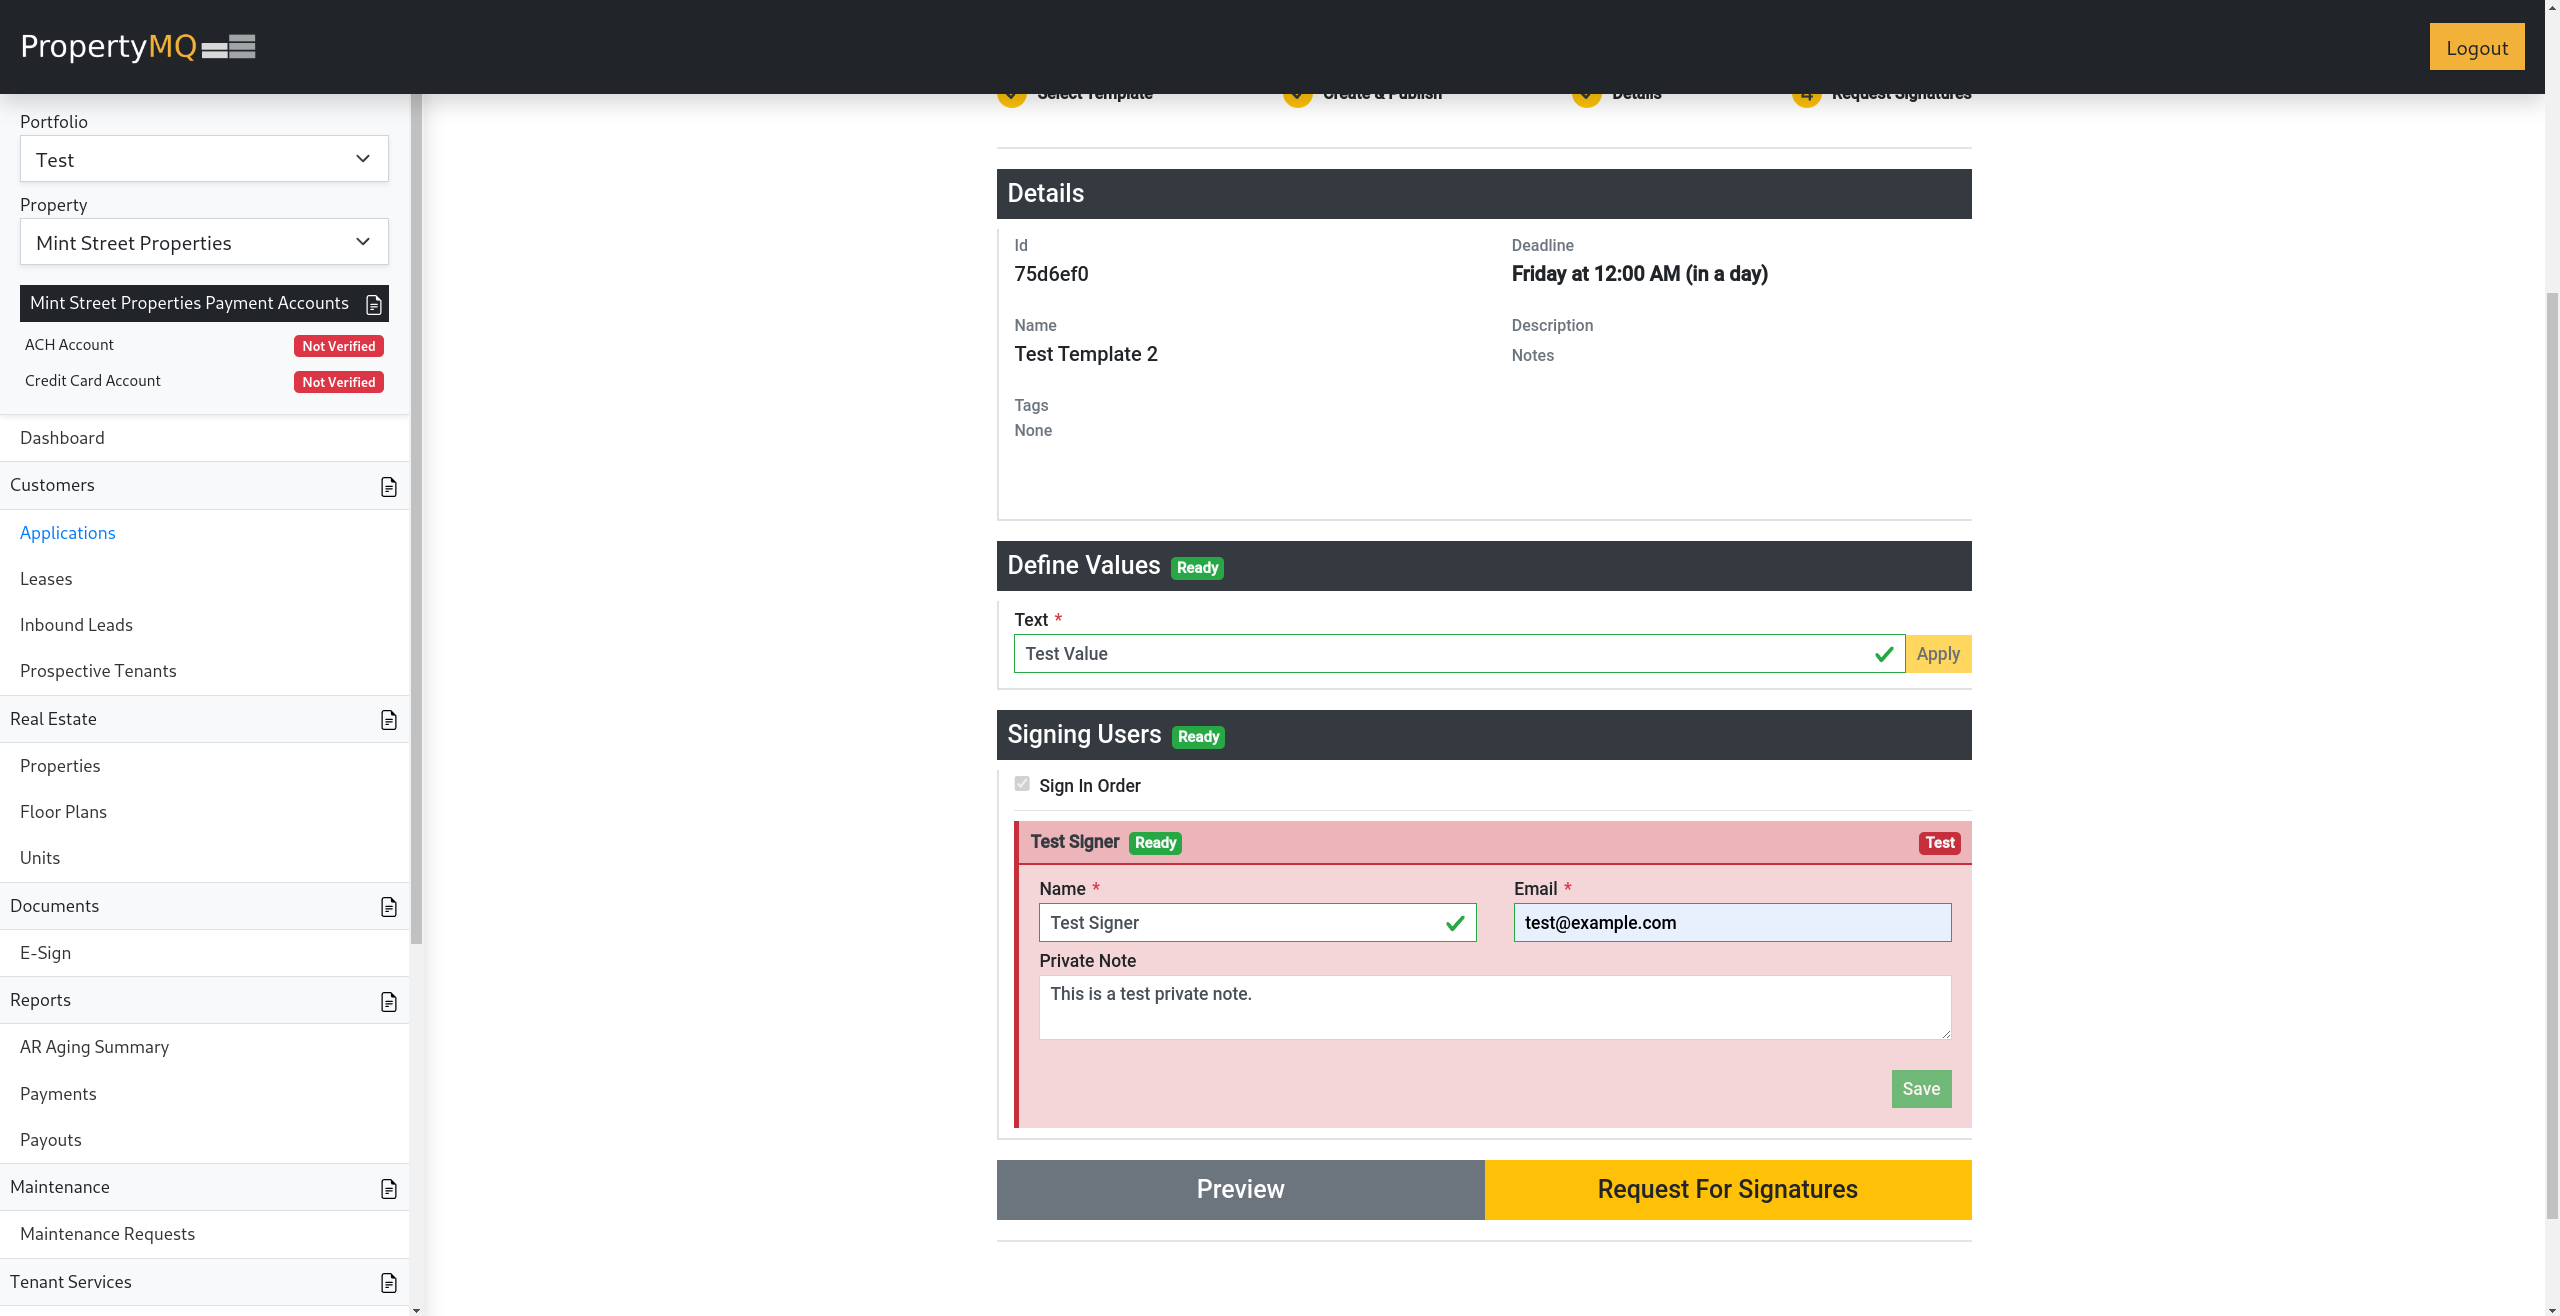
Preview
In the image above, the Preview button, when clicked, will open a preview window showing the document along with the fields that were added to the document in accordance to the selected template.
Request For Signatures
The Request For Signatures button will remain disabled until all sections are marked Ready as shown above. This will happen when all, if any, values in the Define Values section are set and all signing users in the Signing Users section are configured and saved.
Once the Request For Signatures button becomes active, clicking the button will send out signature requests to each signing user. Depending on the Sign In Order value set on the document, the signature requests will be sent in order if checked, or all at once if unchecked.
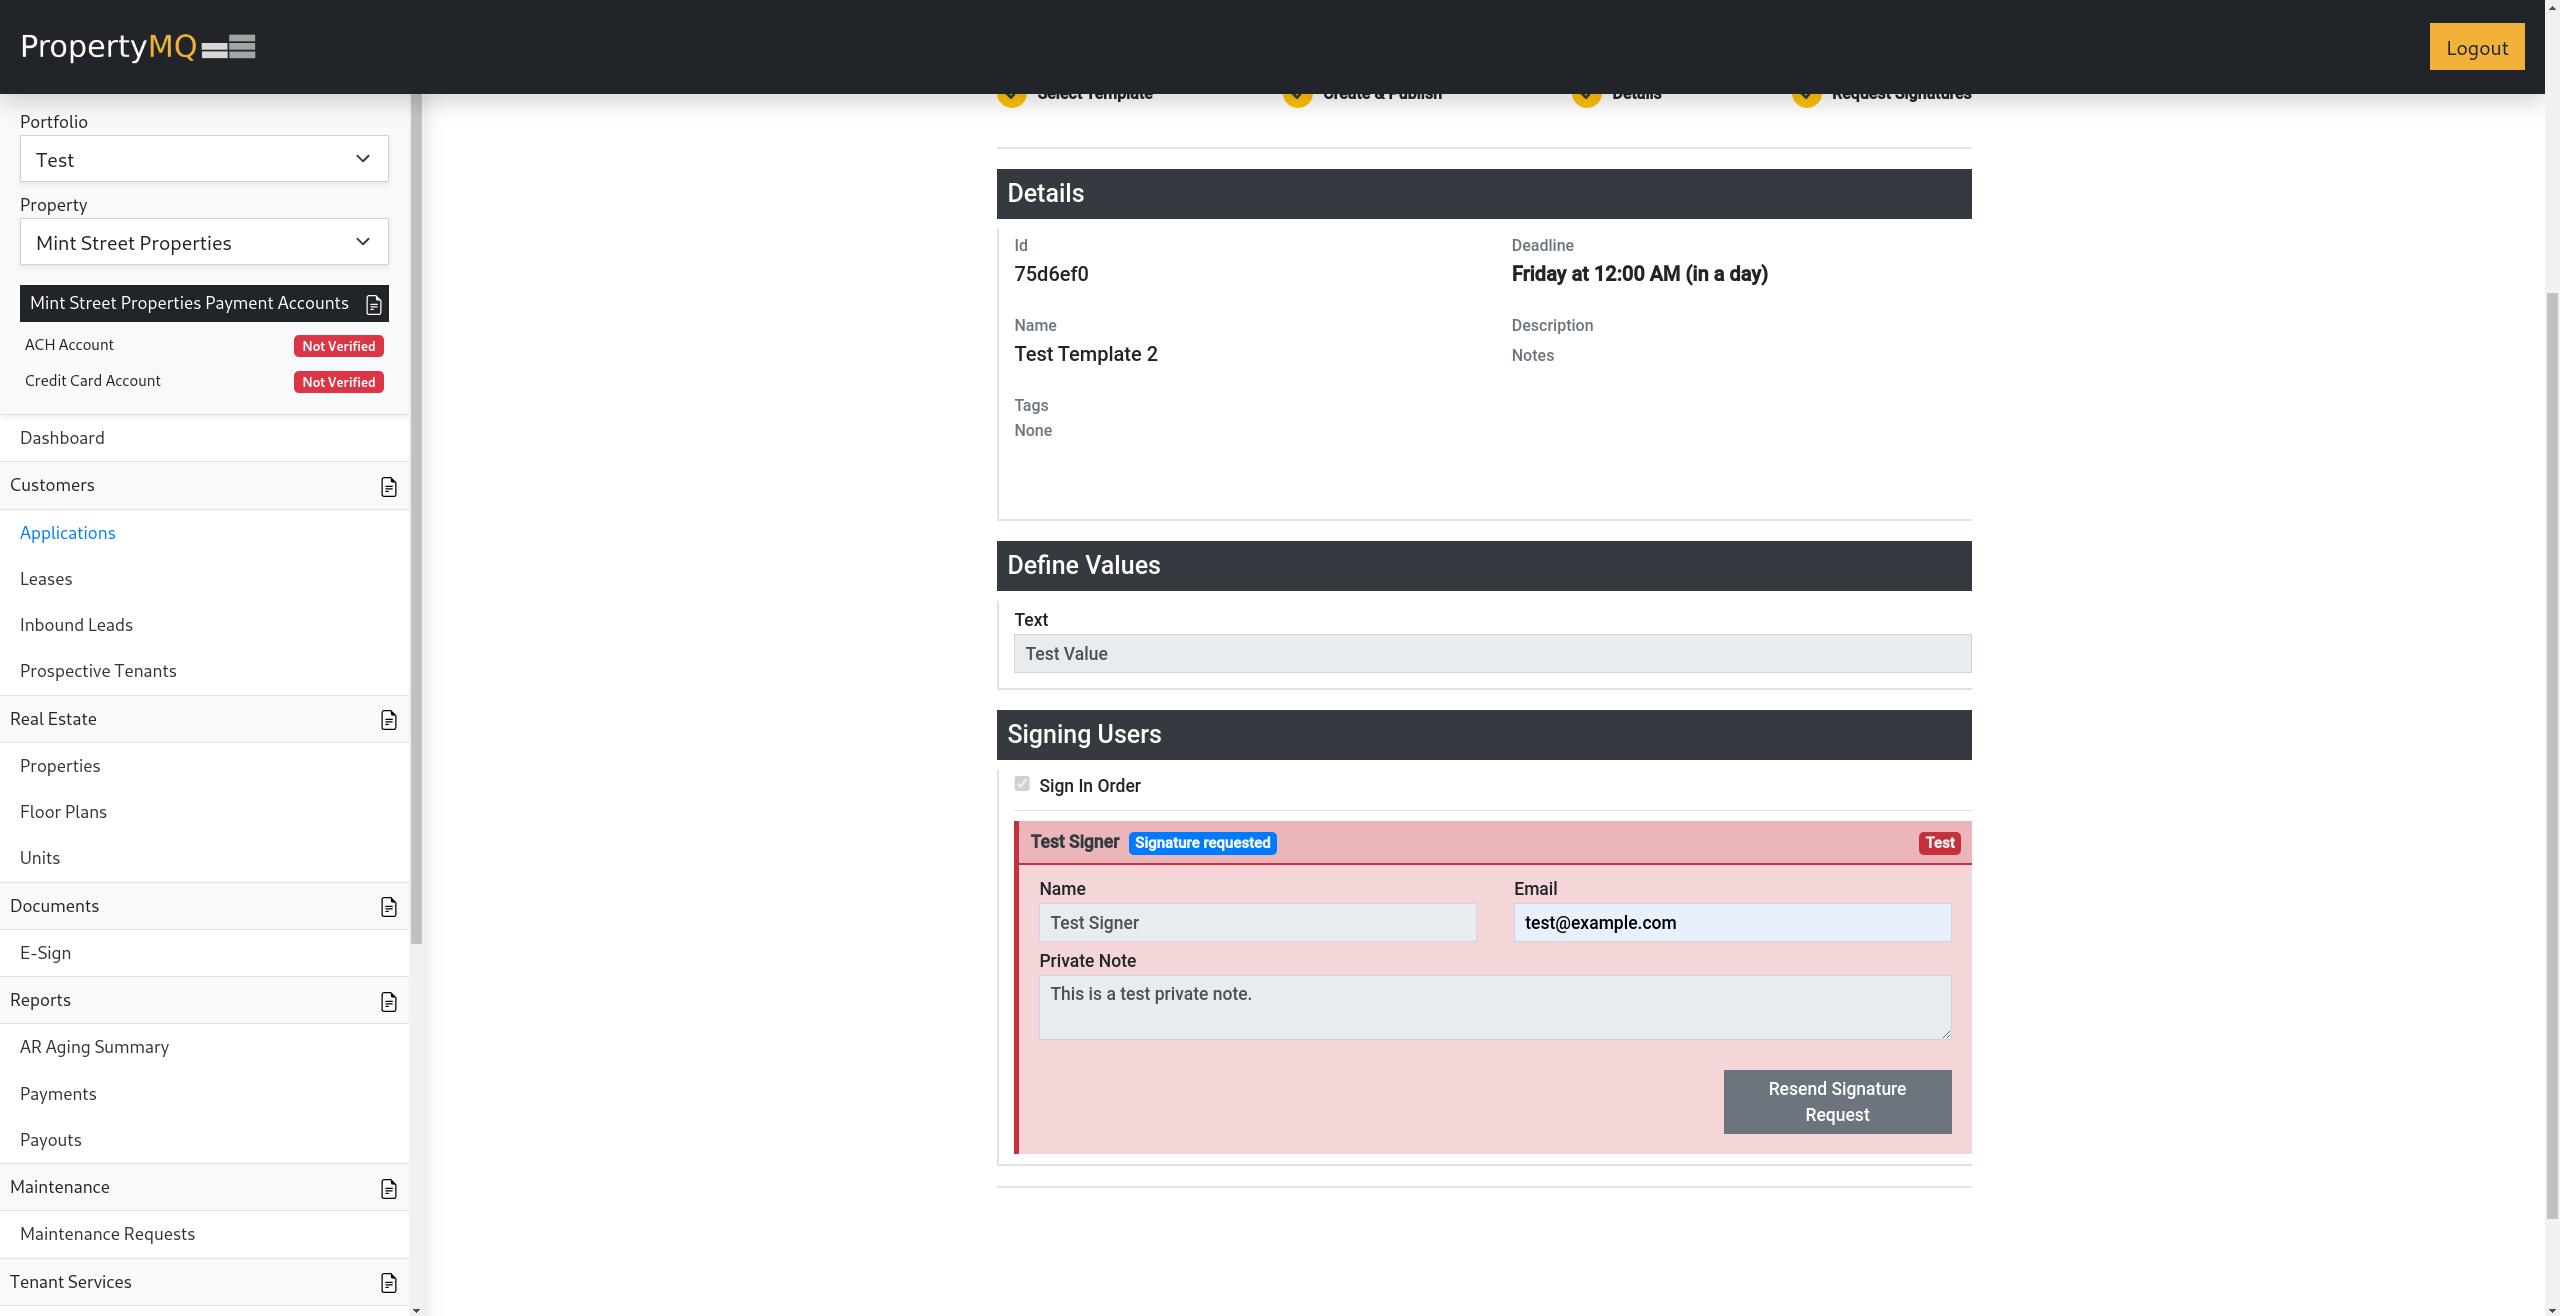
Once a signing user has been sent a signature request, there will be a Resend Signature Request button that appears in the dropdown of that signing user as shown above. When clicked, this will resend a signature request email to that signing user.
5. Completed Documents
After all signatures have been submitted, the document will then be marked as complete as shown below.
Document View
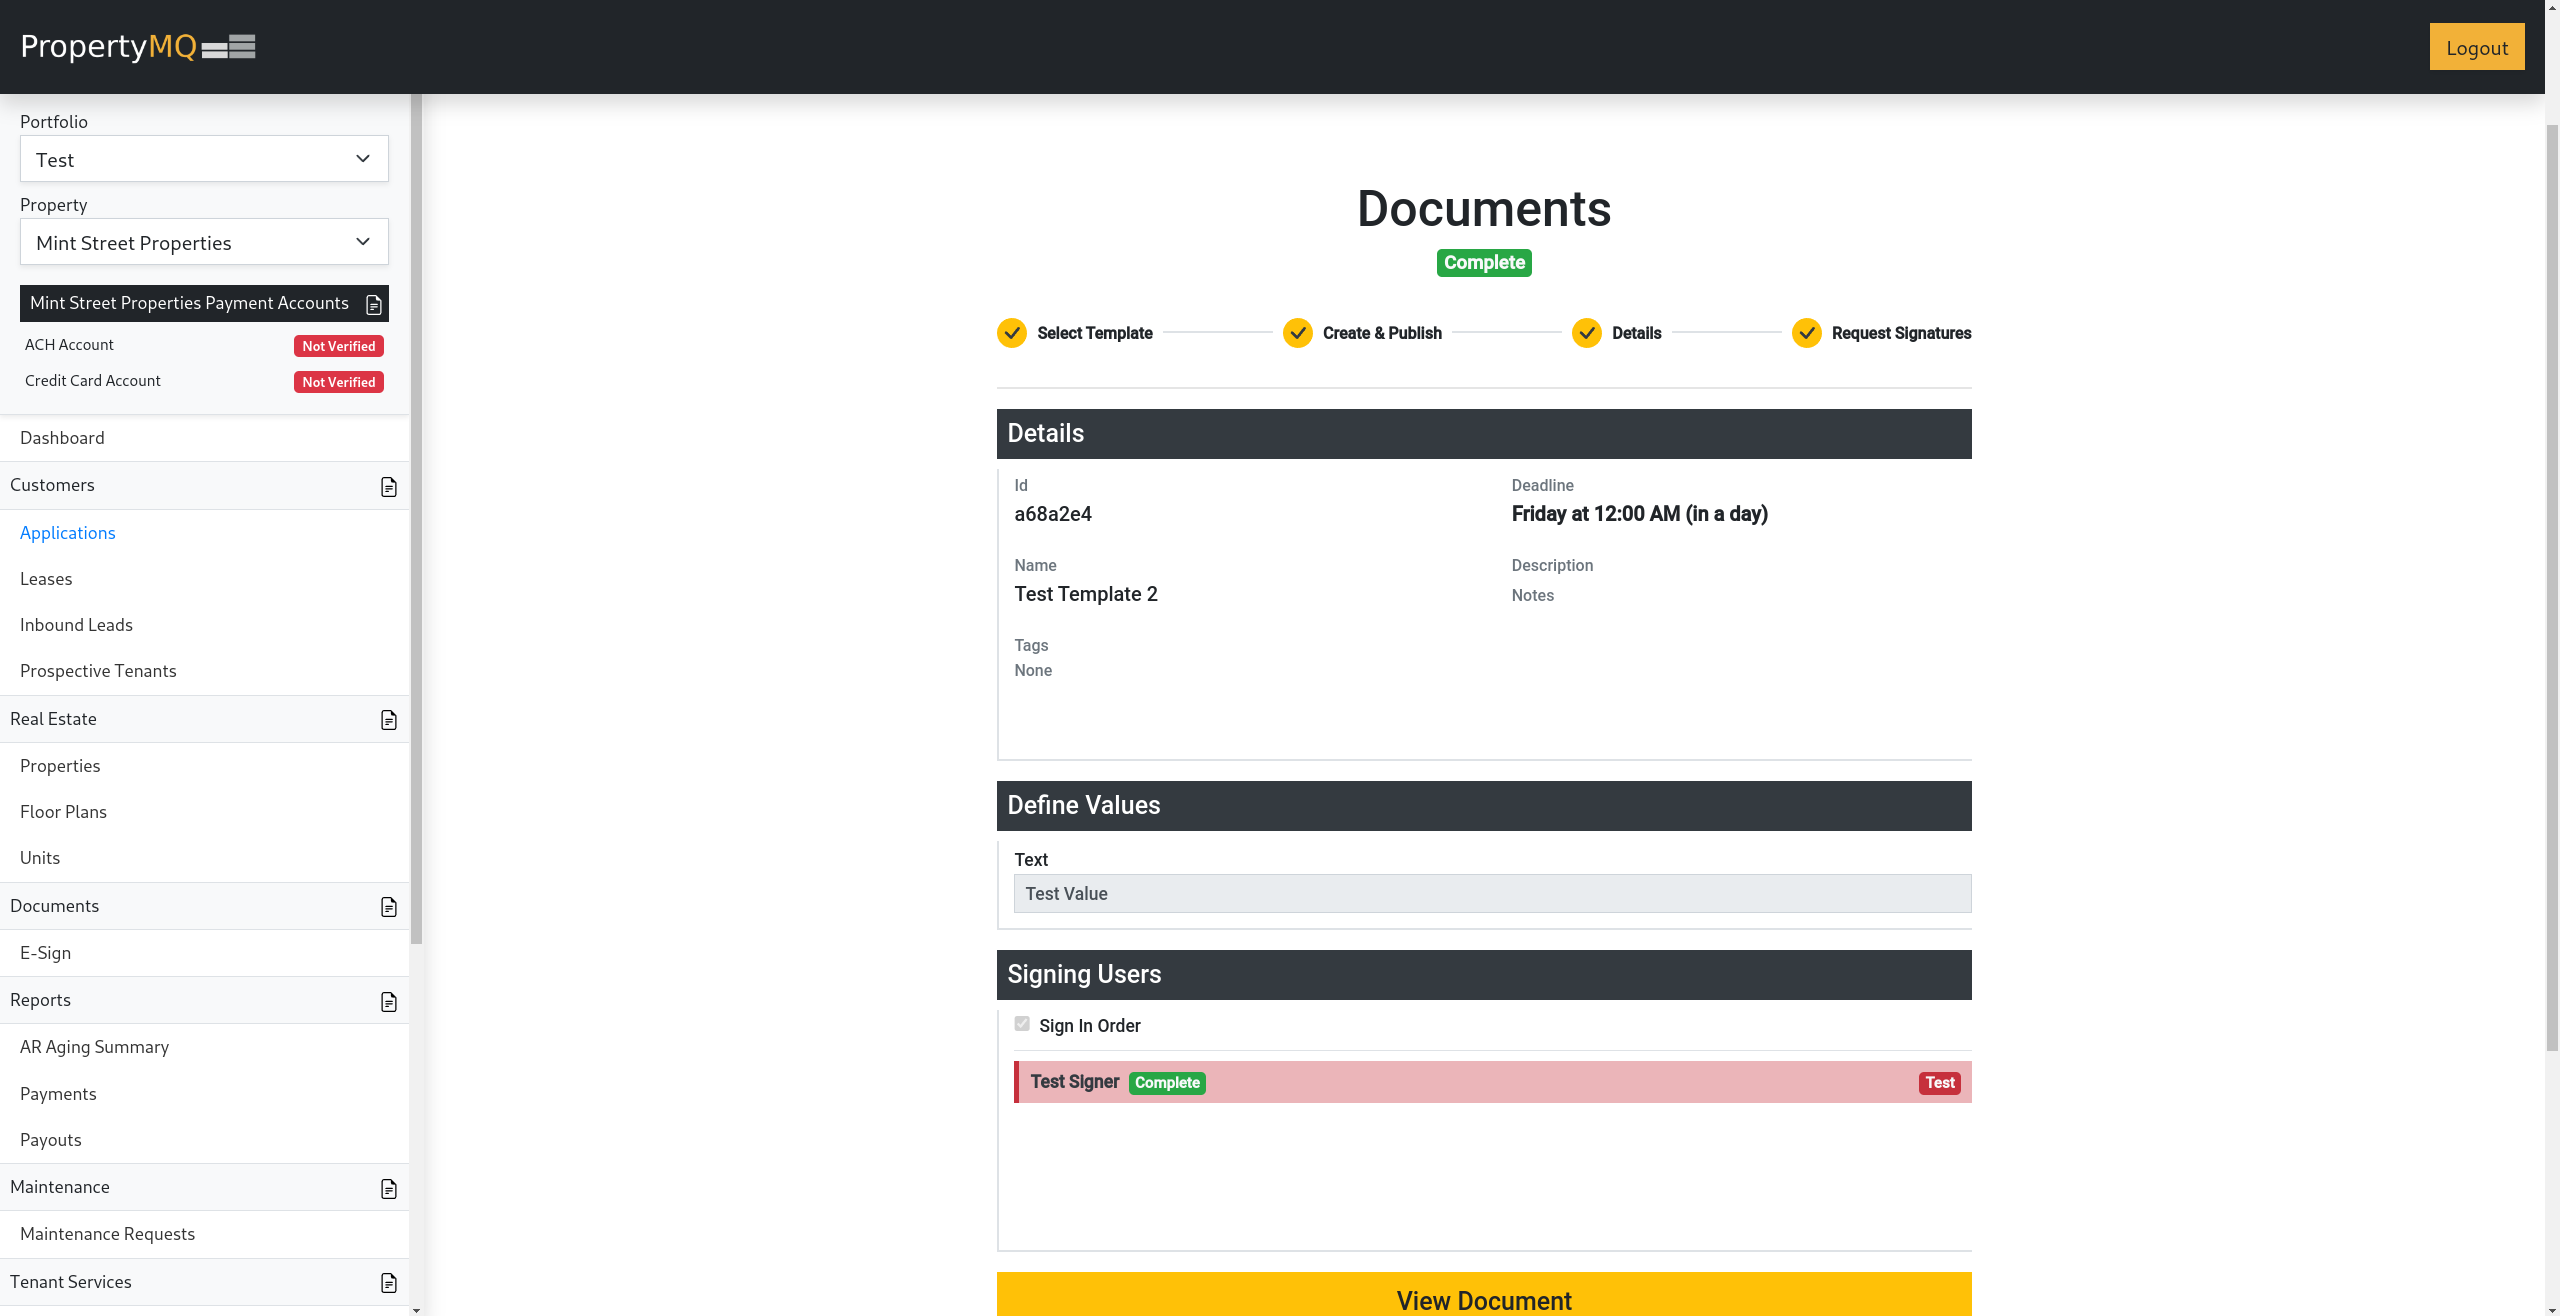
The View Document button will open a preview page of the finished document.
Application View

Once a document is complete, the E-sign Documents section will show the document Status as COMPLETE and have the option to Review  the document as well as Download
  the finished document using the buttons on the right side of the row of the completed document shown above.