Creating a Template
Use the steps below to create an Esign Template for your selected property.
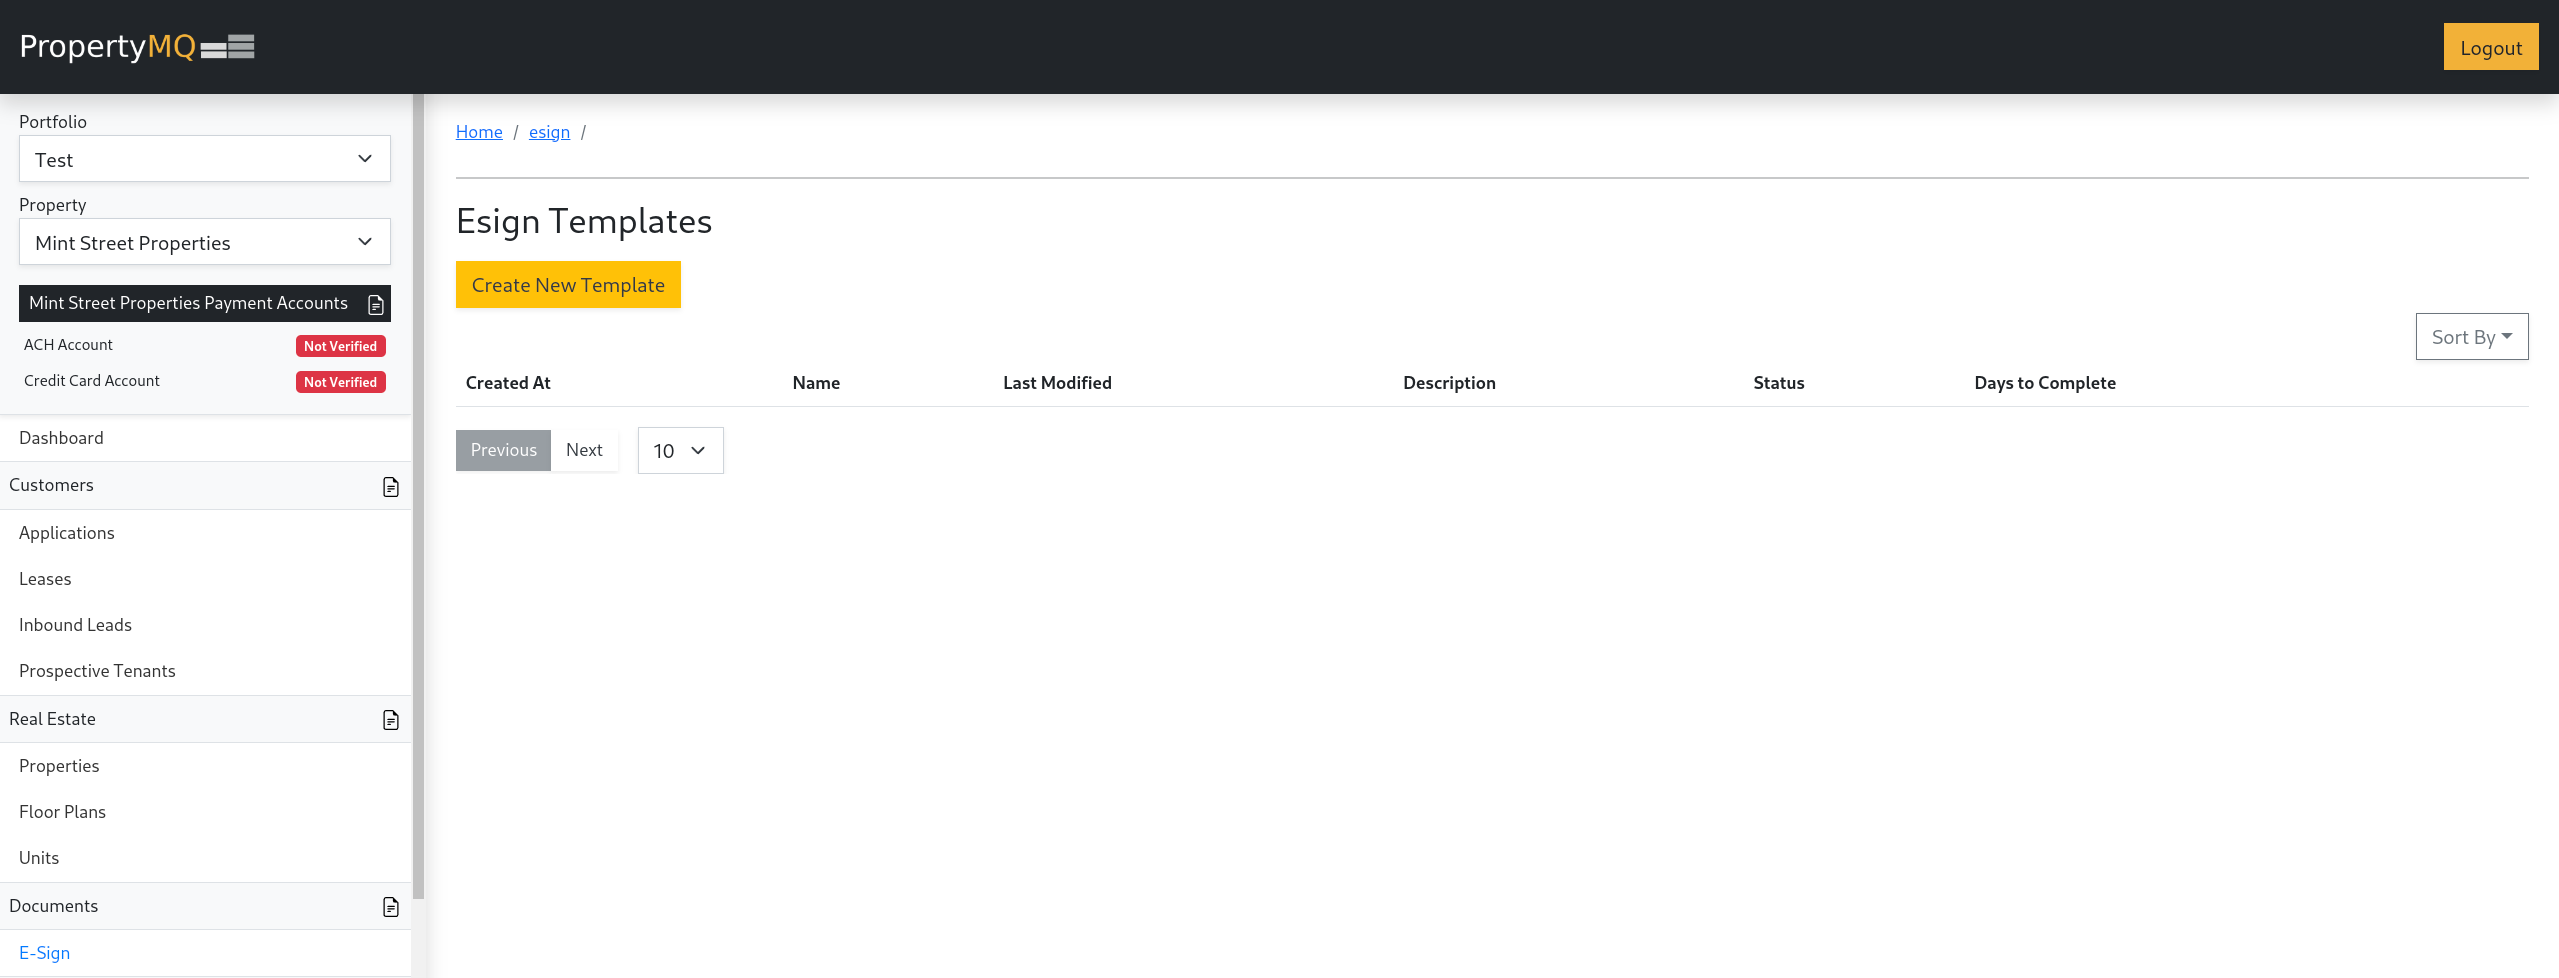
1. Template Menu
In the left navigation panel under Documents select Esign. Then on the top of the page click the Create New Template button.
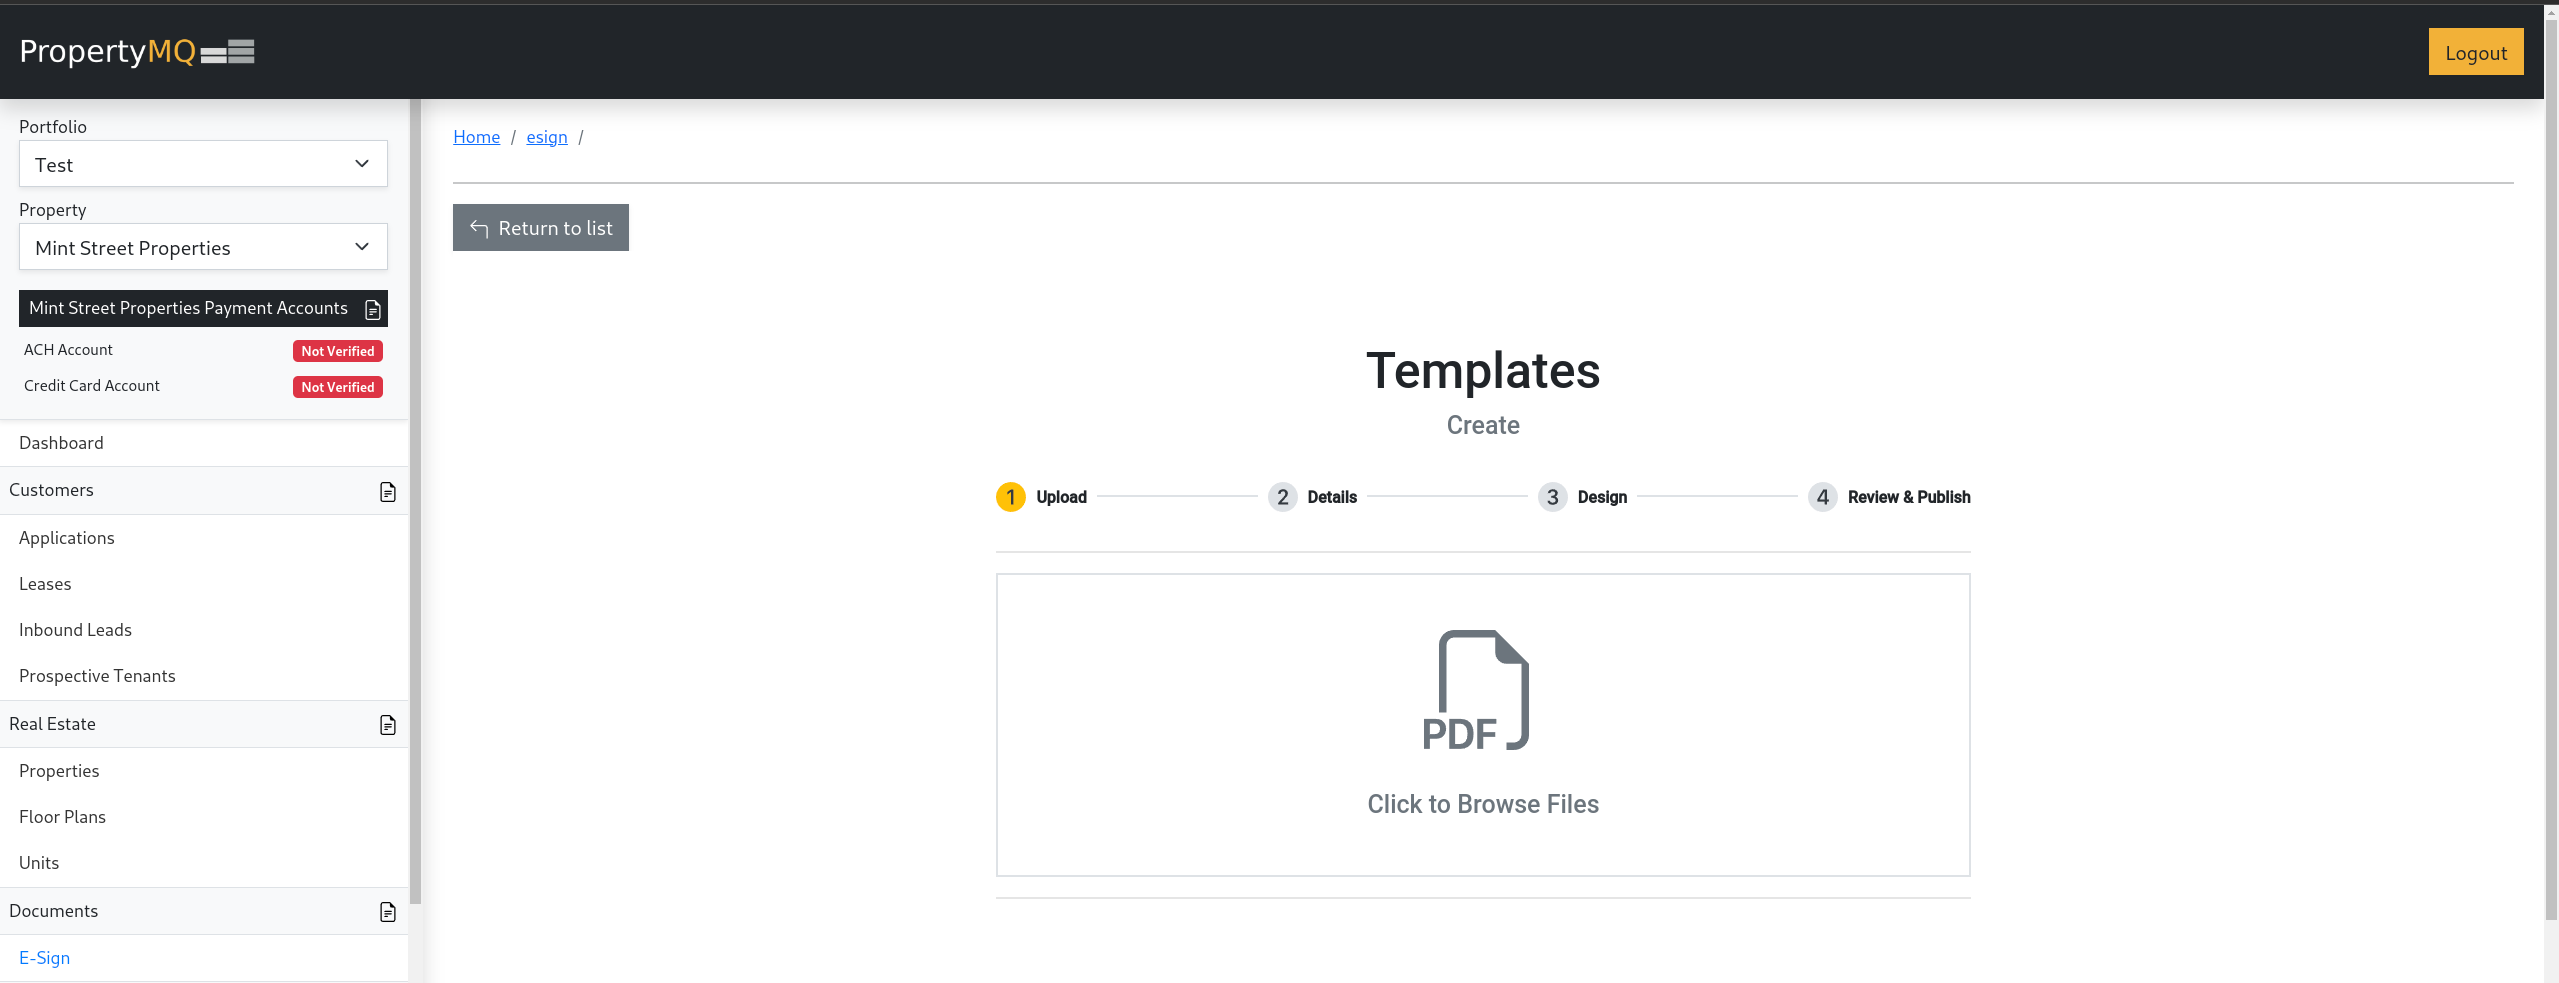
2. Template Upload
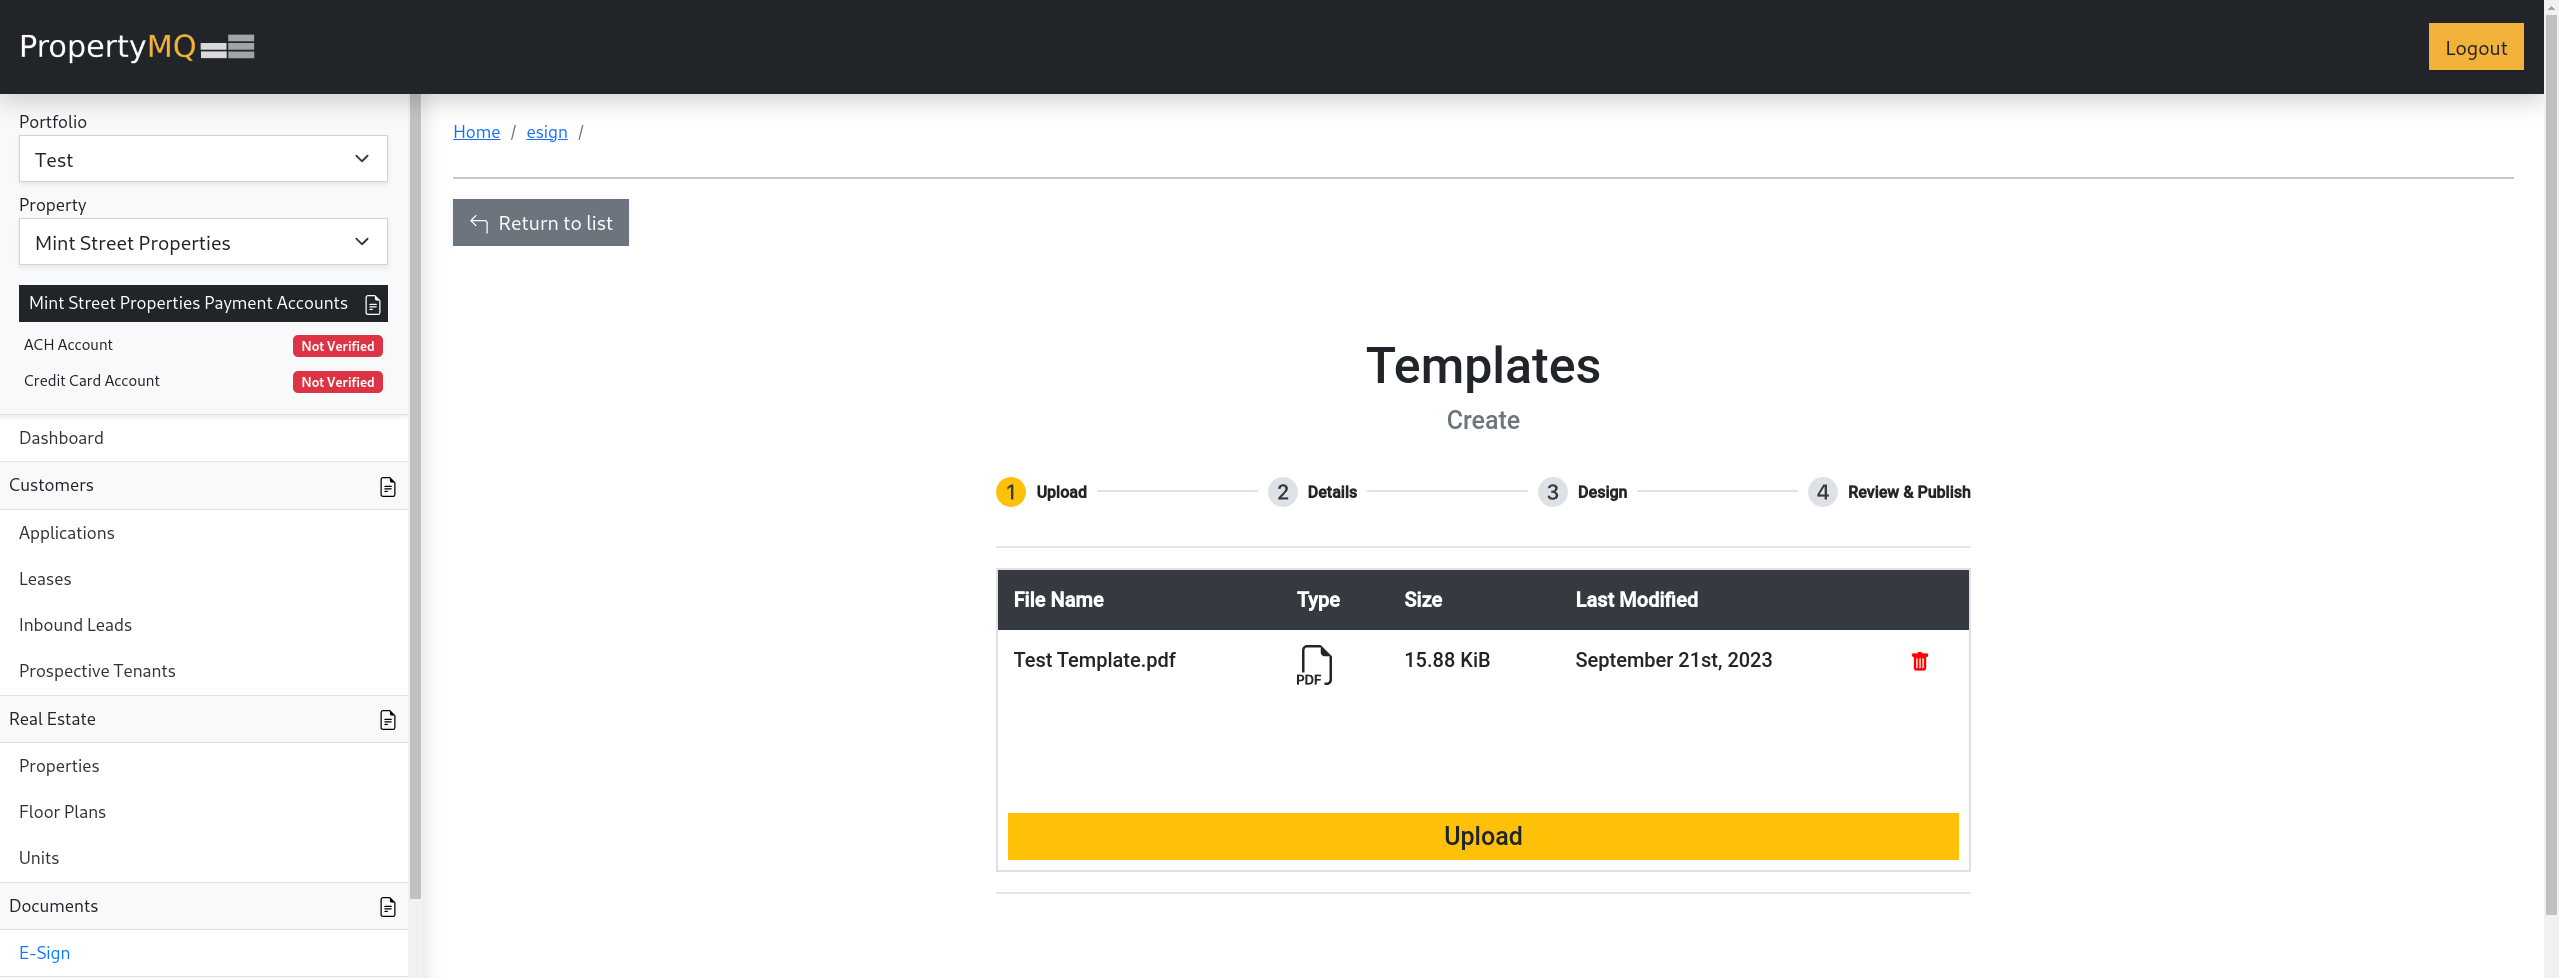
Then upload the PDF document you wish to create a template from and click the upload button that will appear once you have added a PDF document.
Before a file is uploaded
After a file is added
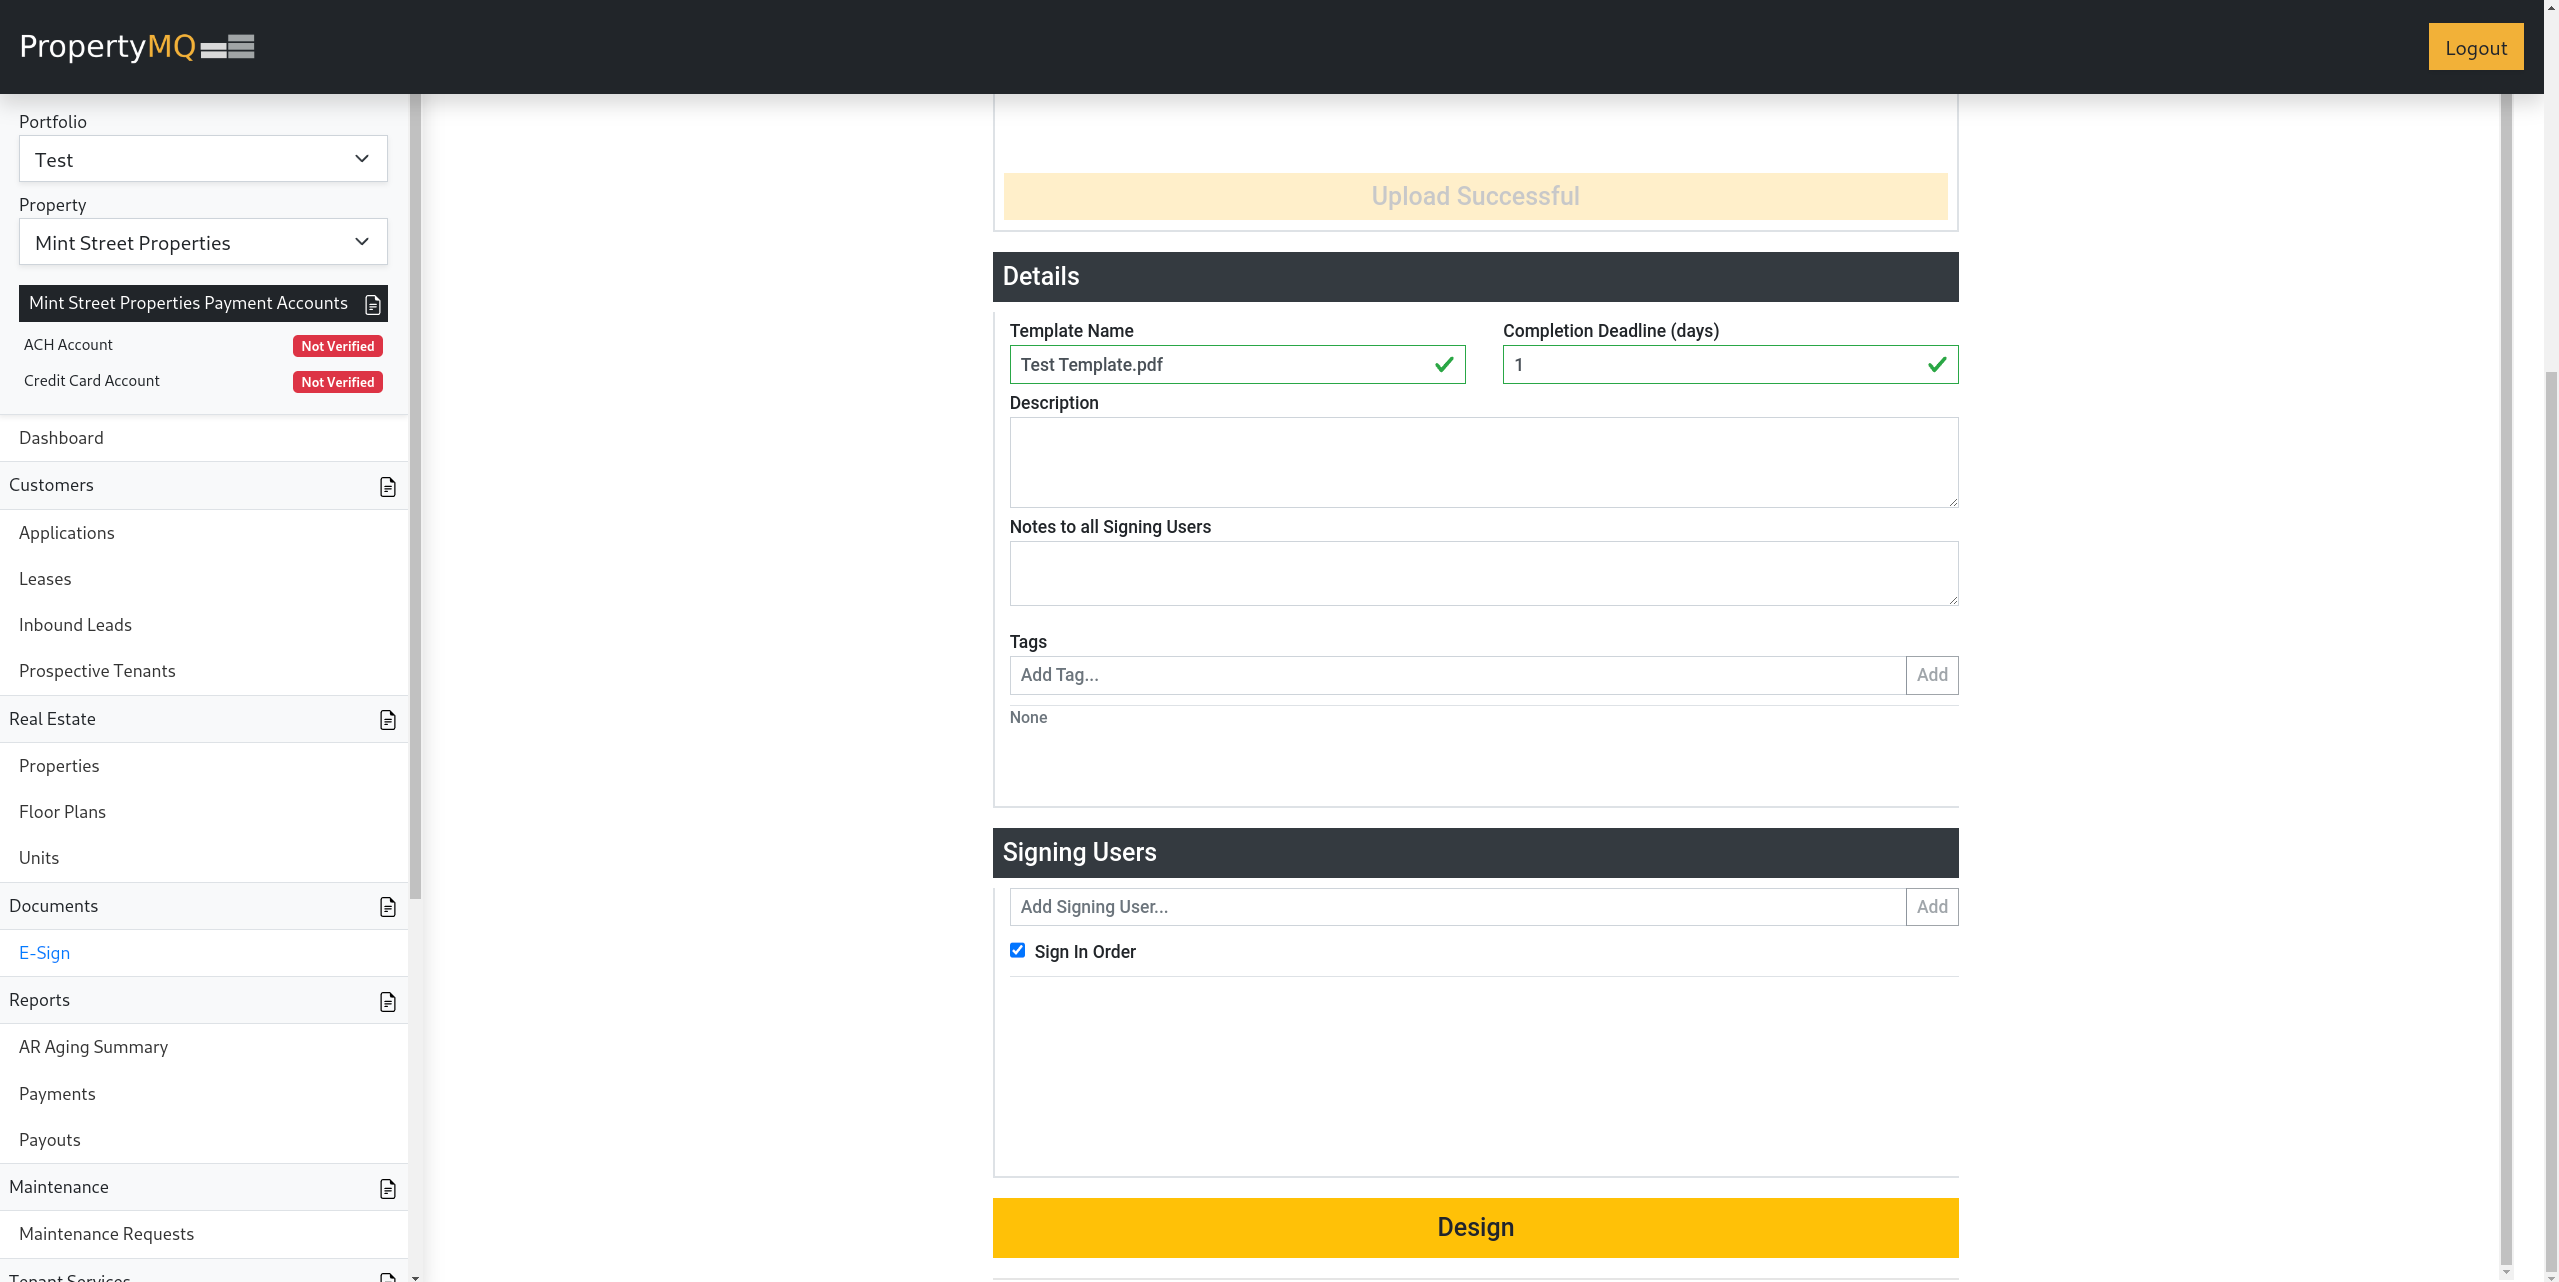
3. Template Details
After the PDF document has been successfully uploaded, you will see a screen similar to the one below. Under the Details section you will need to specify the information shown in the table below.
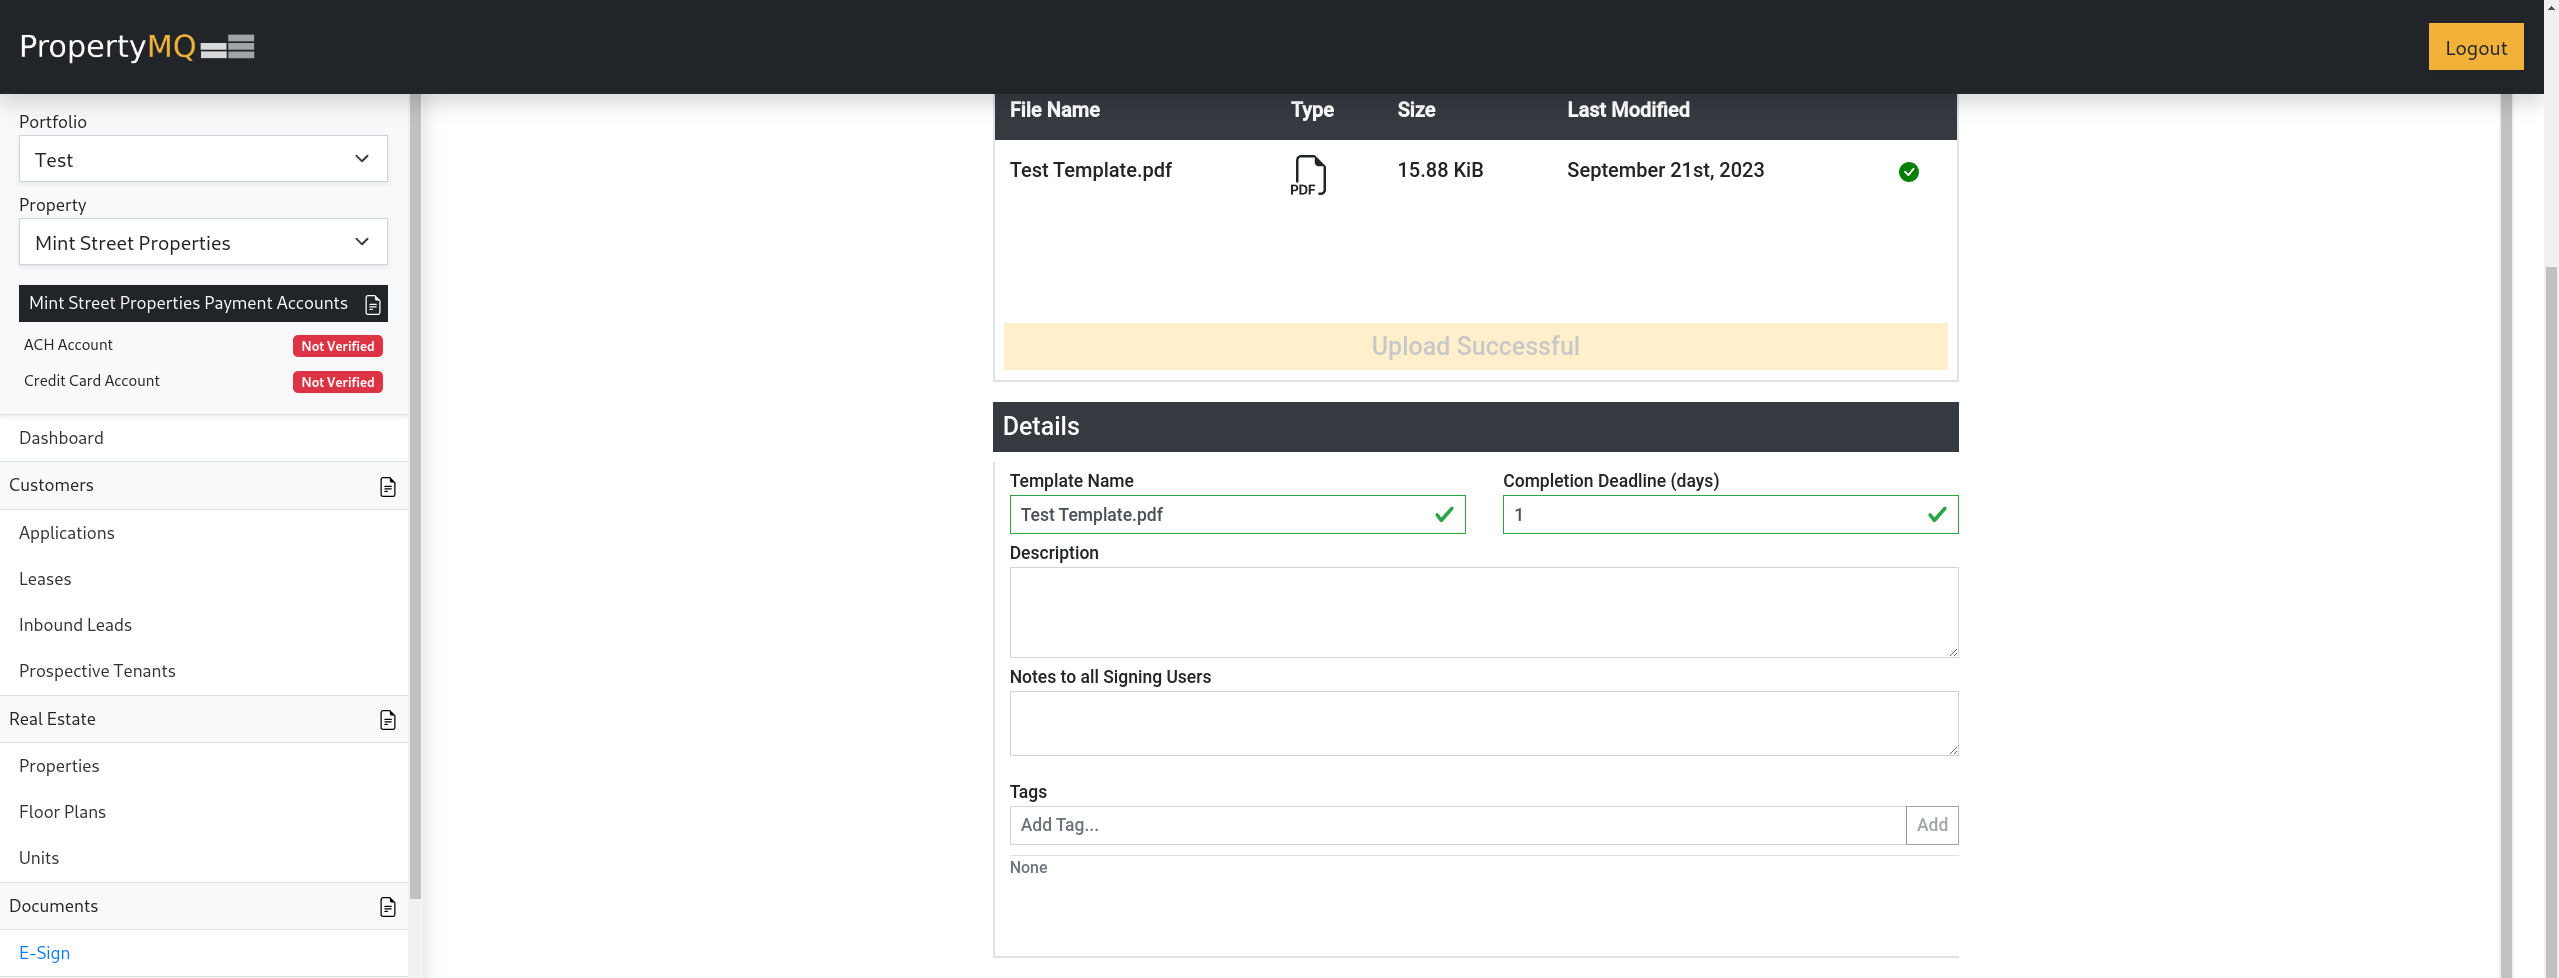
Template Details:
| Name | Description |
|---|---|
| Template Name | This will set the name of the template and document(s) created from this template. |
| Completion Deadline | This is the number of days a document will be available to be signed. |
| Description (Optional) | This a short description that will be visible when viewing a Property's list of templates. |
| Notes to all Signing Users (Optional) | This a short note that will be visible in the signature request email sent to all signer's of a document created from this template. |
| Tags (Optional) | These are keywords that can be added to a template for reference. Type a word or short phrase and click the Add button to add a Tag. To remove a Tag, click the tag itself to remove it from the template. |
4. Signing Users
Under the Signing Users section you can add and manage all required signers with the steps below.
The Signing User section includes the following options:
| Name | Description |
|---|---|
| Sign In Order | If checked, the signers will receive access to the document in the order in which they were added to the template. If unchecked, the signers will all receive access simultaneously. |
| Signing Users | When creating a template, the Signing Users are not a specific person that will be signing the document but rather a label of that individual i.e. Tenant, Landlord, Leasing Agent, etc. |
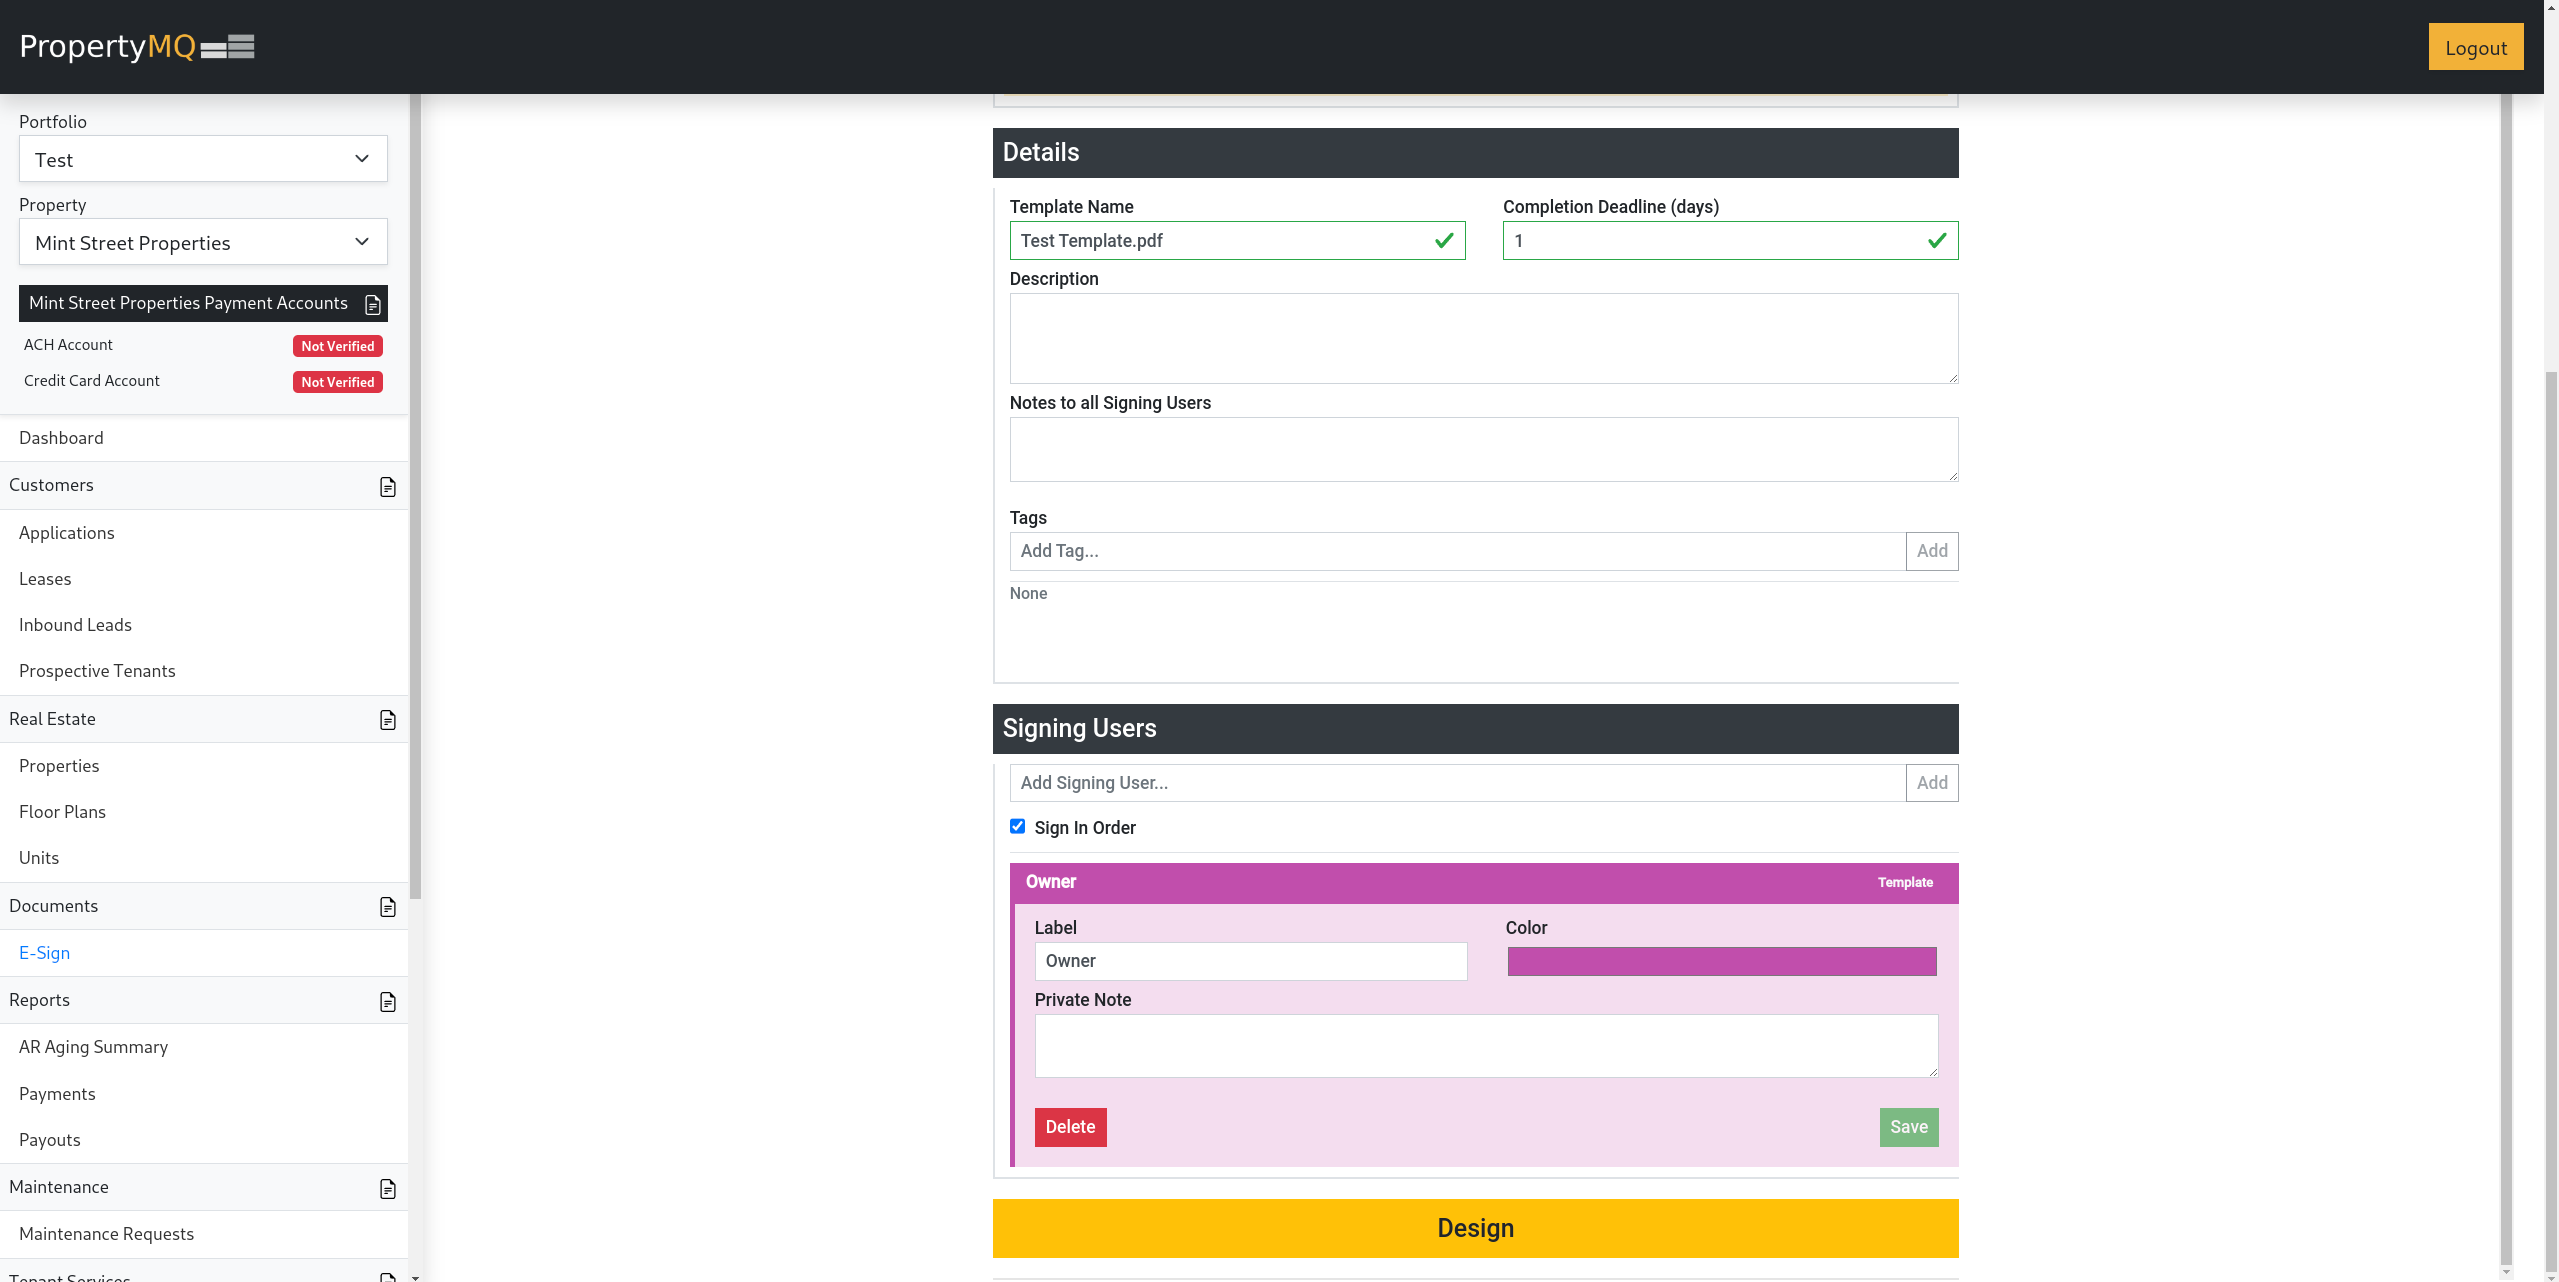
Steps to Adding a Signing User:
- Type in a label for the signer and click the
Addbutton. - (Optional) Add a private note that will be included in the signature request email to that individual signer.
- Click the
Savebutton shown below.
Steps to Remove a Signing User:
- Select the Signing User you want to remove to open the Signer details.
- Click the
Deletebutton to remove the Signing User from the template shown below.
Please Note - A Signing User must not have any fields on a template in order to be removed. See the section regarding Template fields below for information on how to remove fields.
5. Template Design
Once all Signing Users have been added to the template, click the Design button to enter the Template Designer. This will reveal a page similar to the one below.
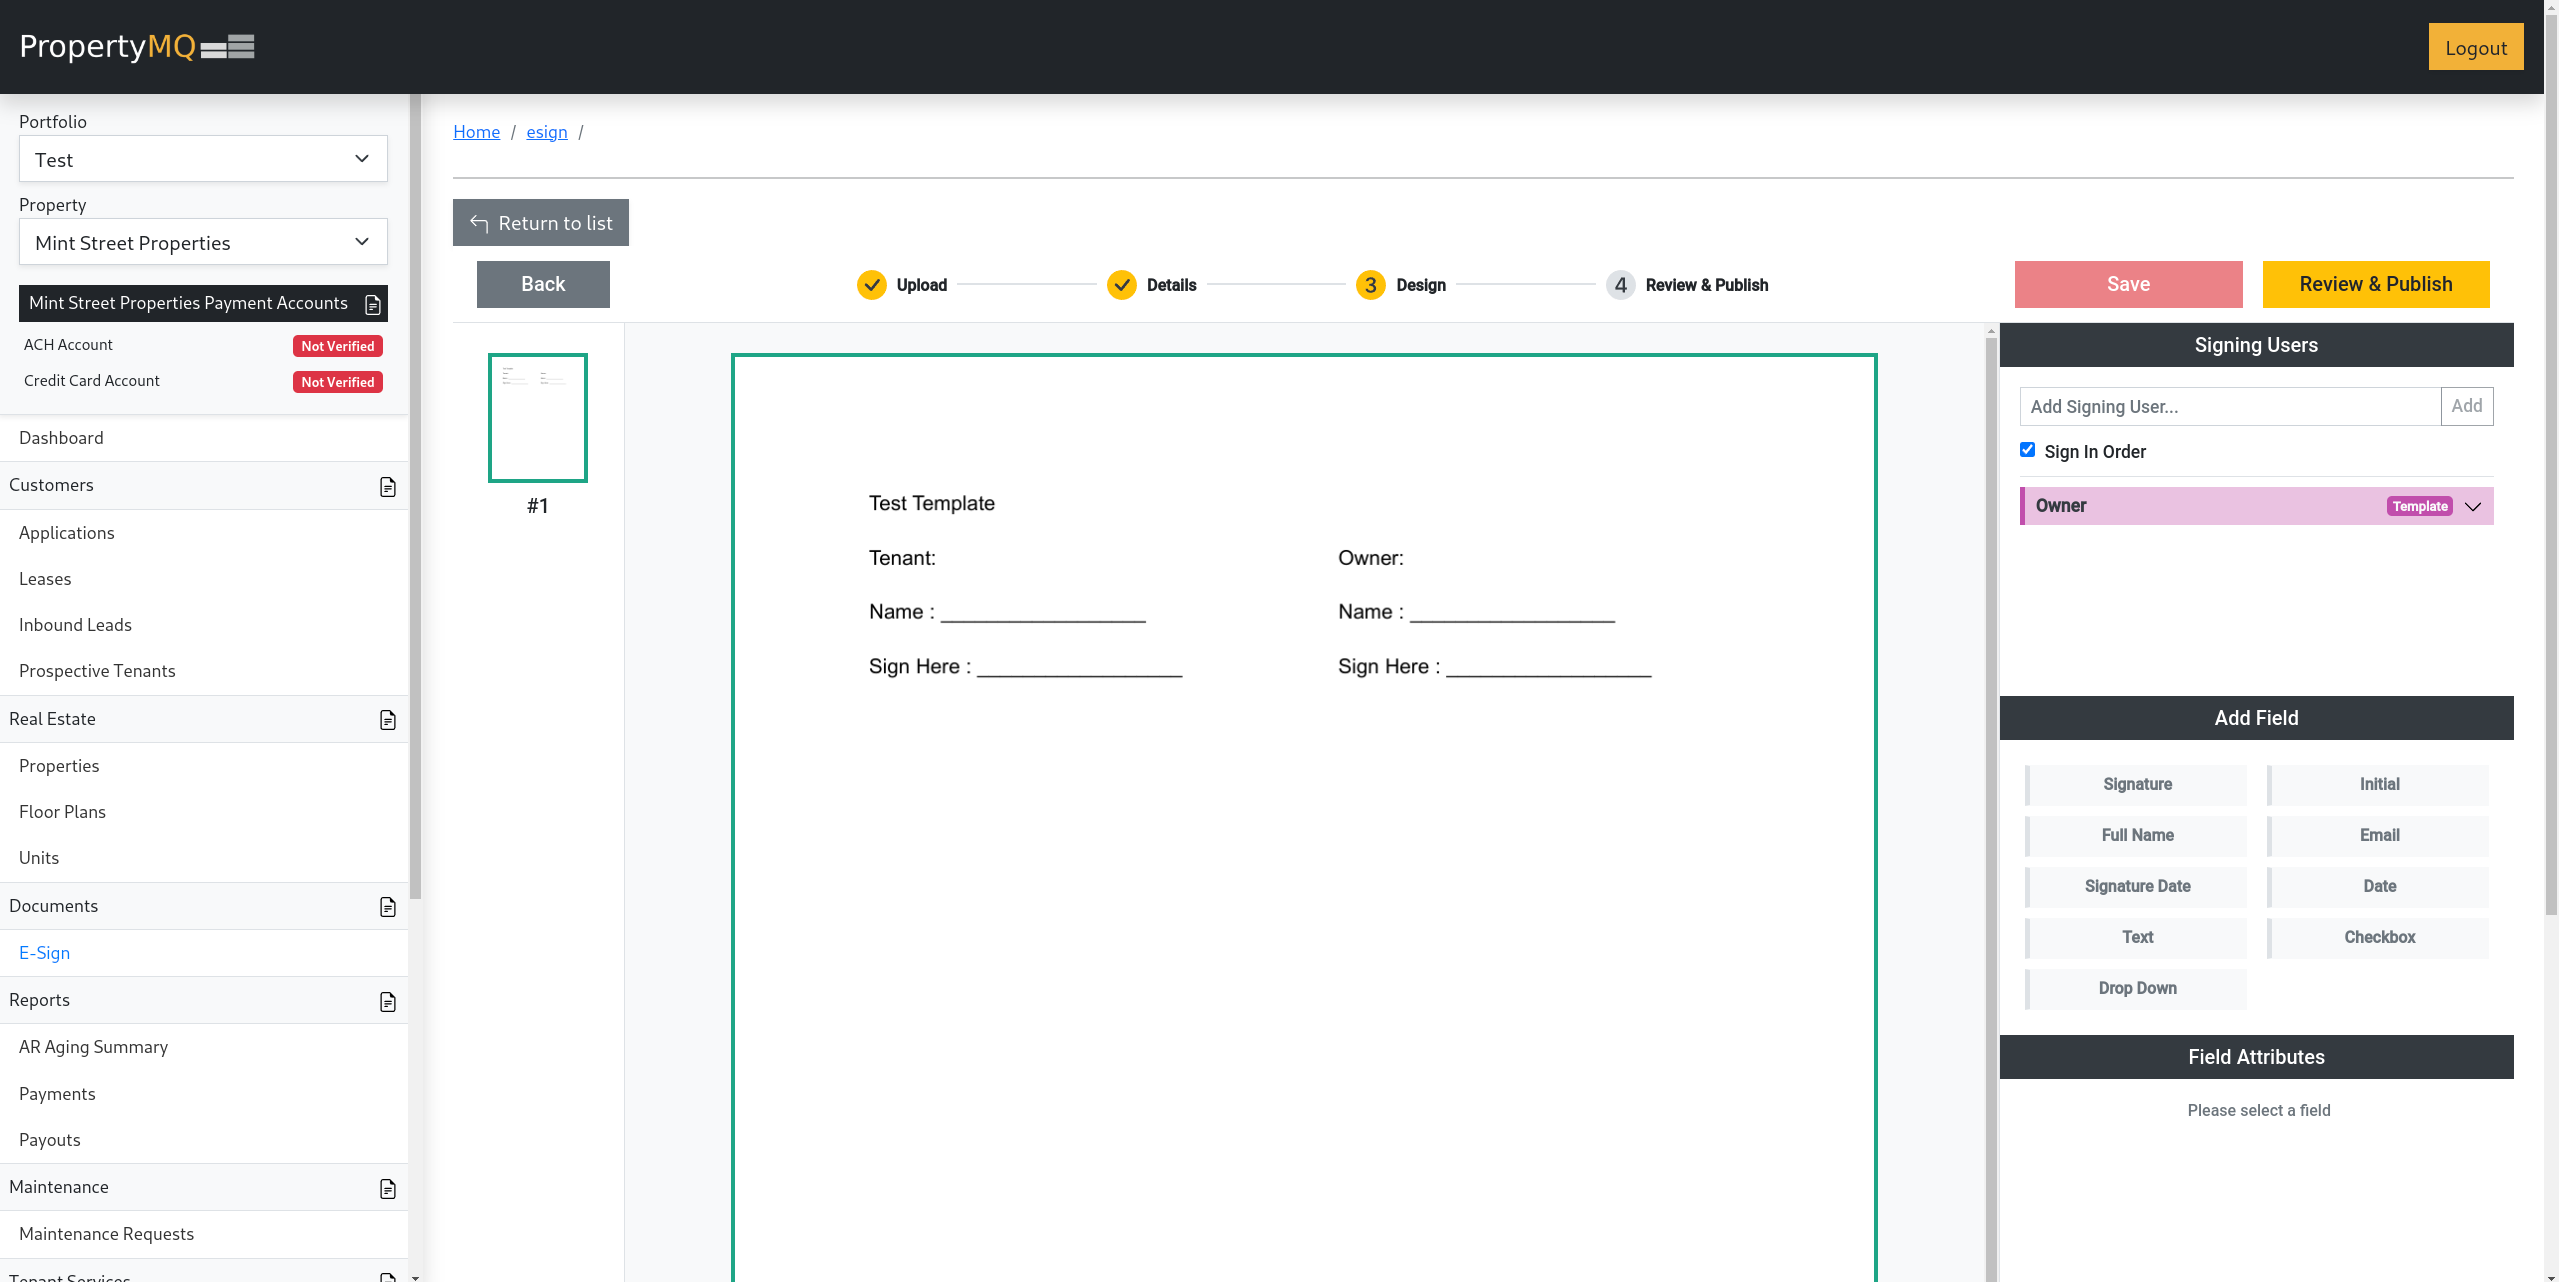
Adding Fields to a Template
- Select the page you want to add fields to in the left column of the Template Designer.
- Select a signer from the
Signing Userssection shown above on the right side to associate with the field. - From the
Add Fieldsection seen above on the right, drag the desired field on to the selected page. - The field can then be moved as well as resized on the template.
- Once in place, you can configure the field using the
Field Attributessection below the list of fields. SeeConfiguring Fieldssection below for more information.
Please Note - Right-clicking on a field will bring up a dropdown menu with several additional options shown below.
Removing Fields to a Template
Right-click on the field you intend to delete.
Click the
Deleteoption at the bottom of the dropdown menu as shown below.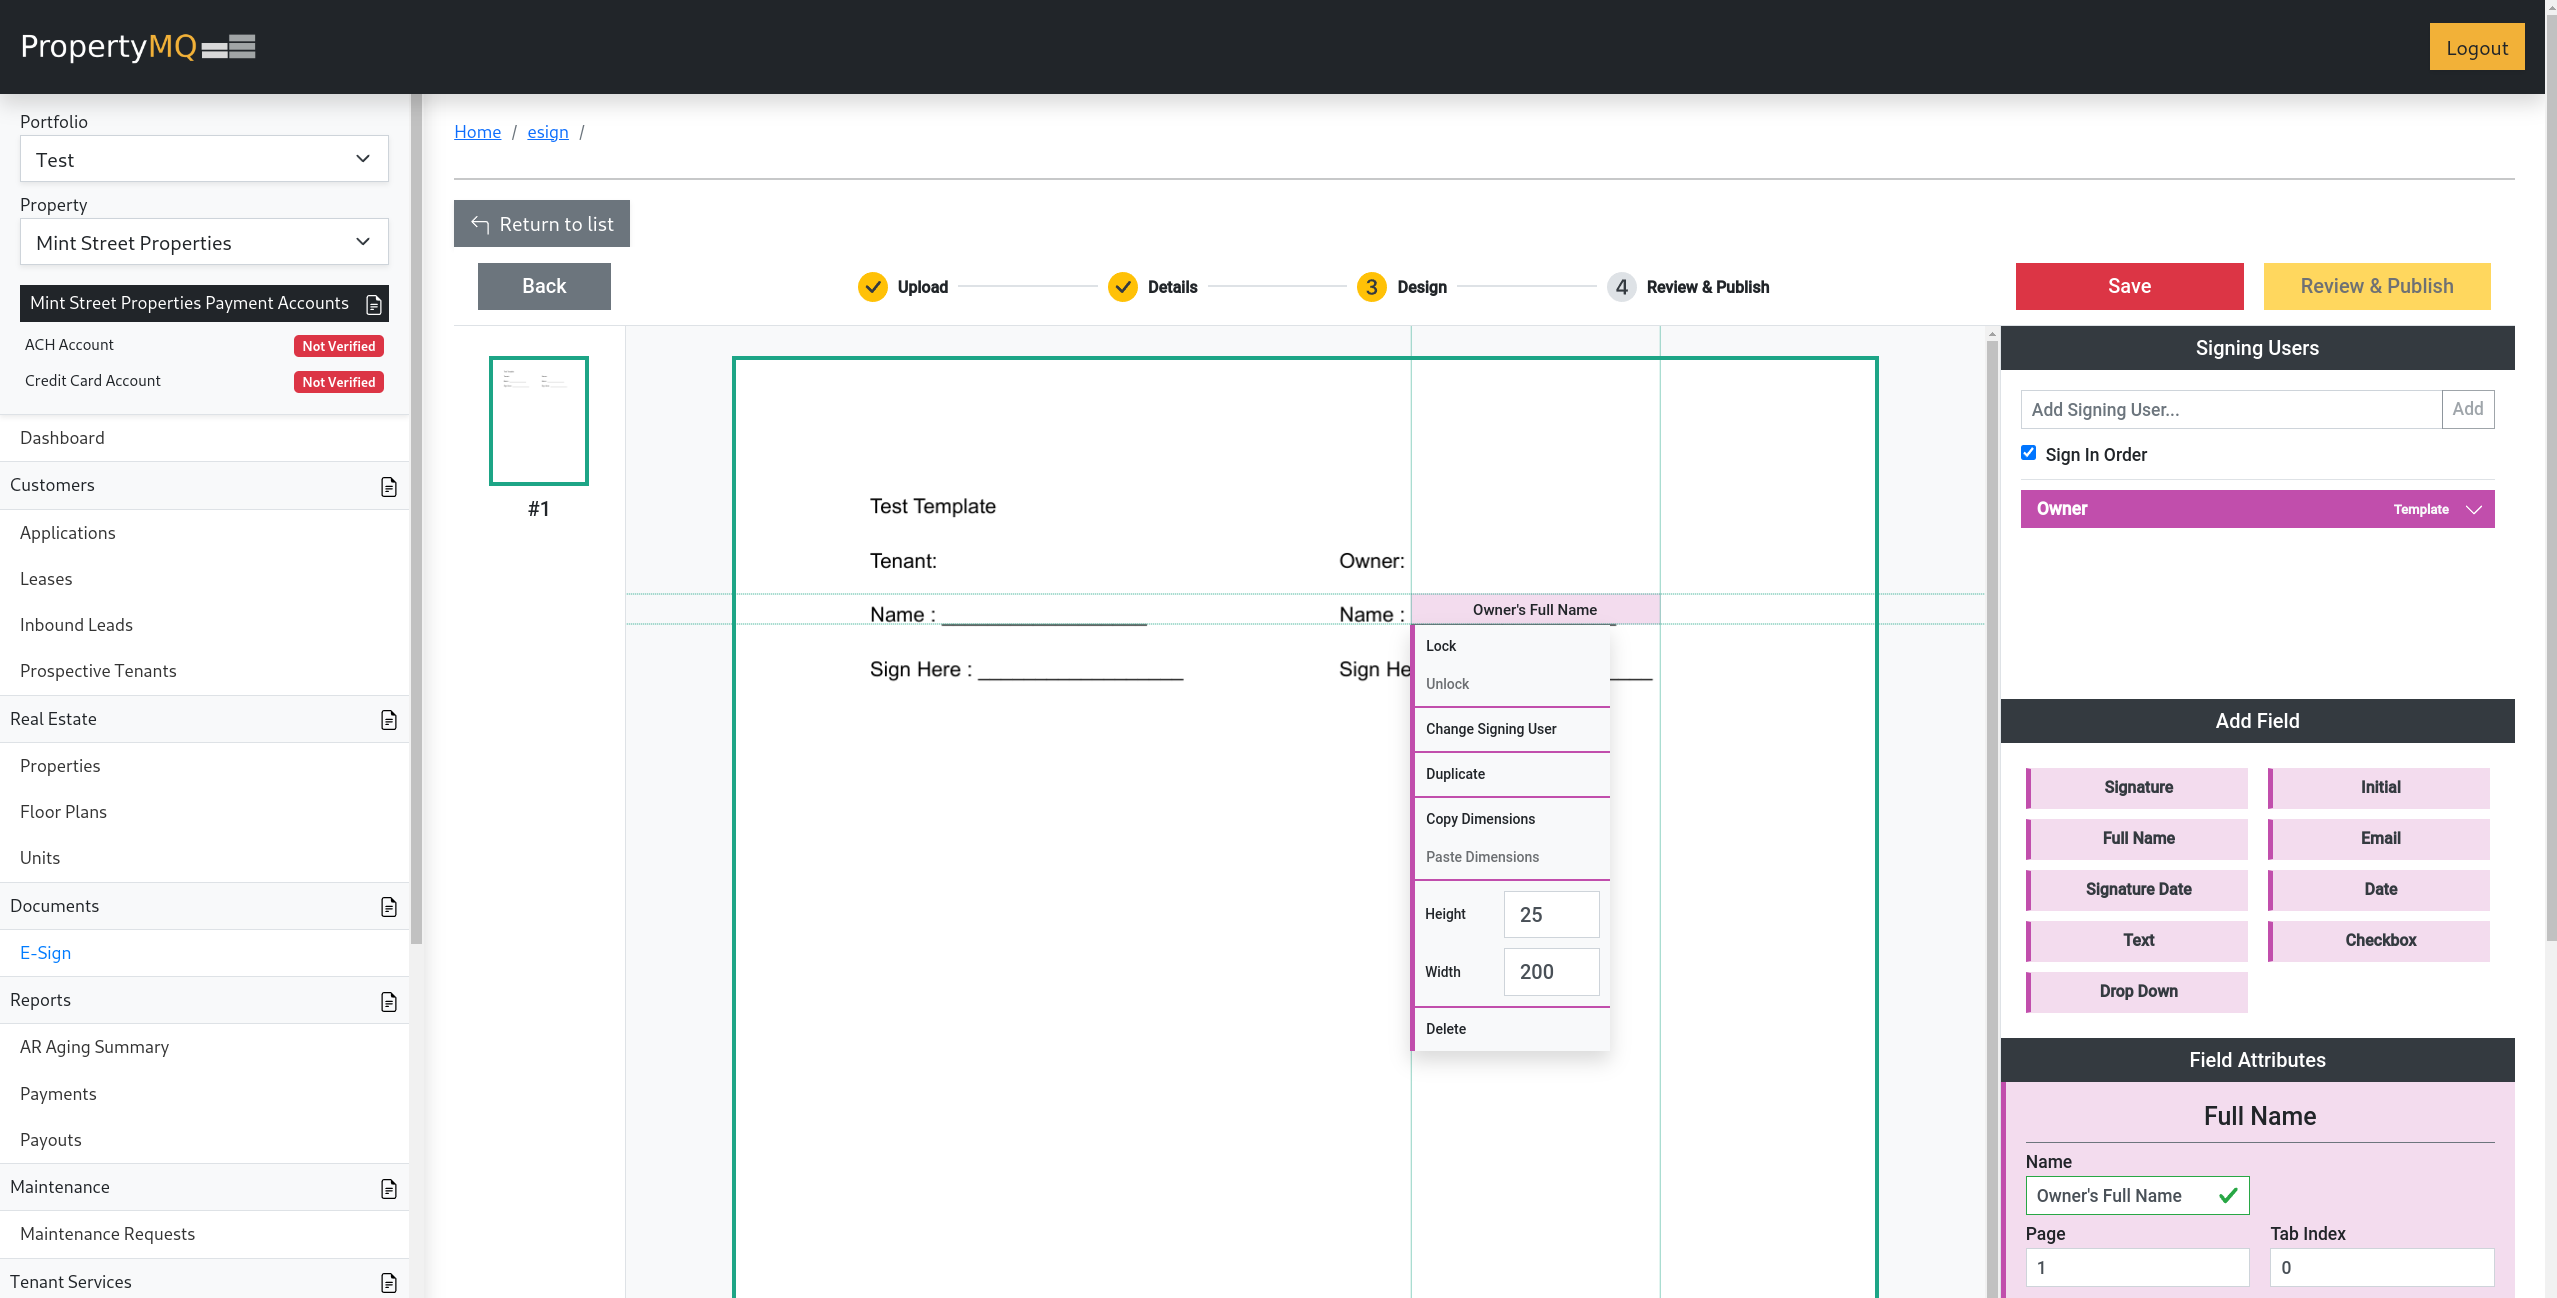
Configuring Fields
Once a field added to the template is selected, the
Field Attributessection will be populated with field specific information that can be configured to suit your needs.Each field has its own set of different attributes that can be configured, below is a list of the possible attributes as well as a short description of their purpose.
Name Description Name Sets the name of the field itself. This value will show up when previewing the template. Page Sets the page the field will exist on. This value will often not need to be changed. Tab Index This value will represent the order of all fields on the document that will be auto-selected by pressing the Tab Key when a signing user is signing a document from this template. Read-Only This value, if checked, makes the field unchangeable once set by the creator of a document from this template. Required If checked, this field will prevent a document from this template to be submitted unless a value is set during the signing process. Font Size This value will set the size of the font for the text within the respective field. Default Value This will set a default value on the field that will persist unless overwritten during signing. Define before Signatures If checked, this field will require a value set by the creator of the document from this template before signature requests can be sent. Add option For the Drop Downfield, at least 2 options will need to be set for the field to be valid.